The Best Protective Style for Growing Out a Relaxer
Growing Out Relaxers Without the Big Chop:
Why Sew-Ins Work
Growing out a relaxer can feel overwhelming. Between breakage, texture differences, and fear of losing length, many people assume the only healthy option is a big chop. The truth? With the right protective style, products, and tools, you can transition from relaxed to natural hair safely, without cutting everything off.
In this post, I’m taking you behind the chair during a traditional sew-in install on a returning client who is growing out her relaxer. I’ll walk you through the exact process, the products and tools I use, and how sew-ins can support hair health, moisture retention, and length retention during the transition phase.

Why Transitioning Hair Is So Fragile
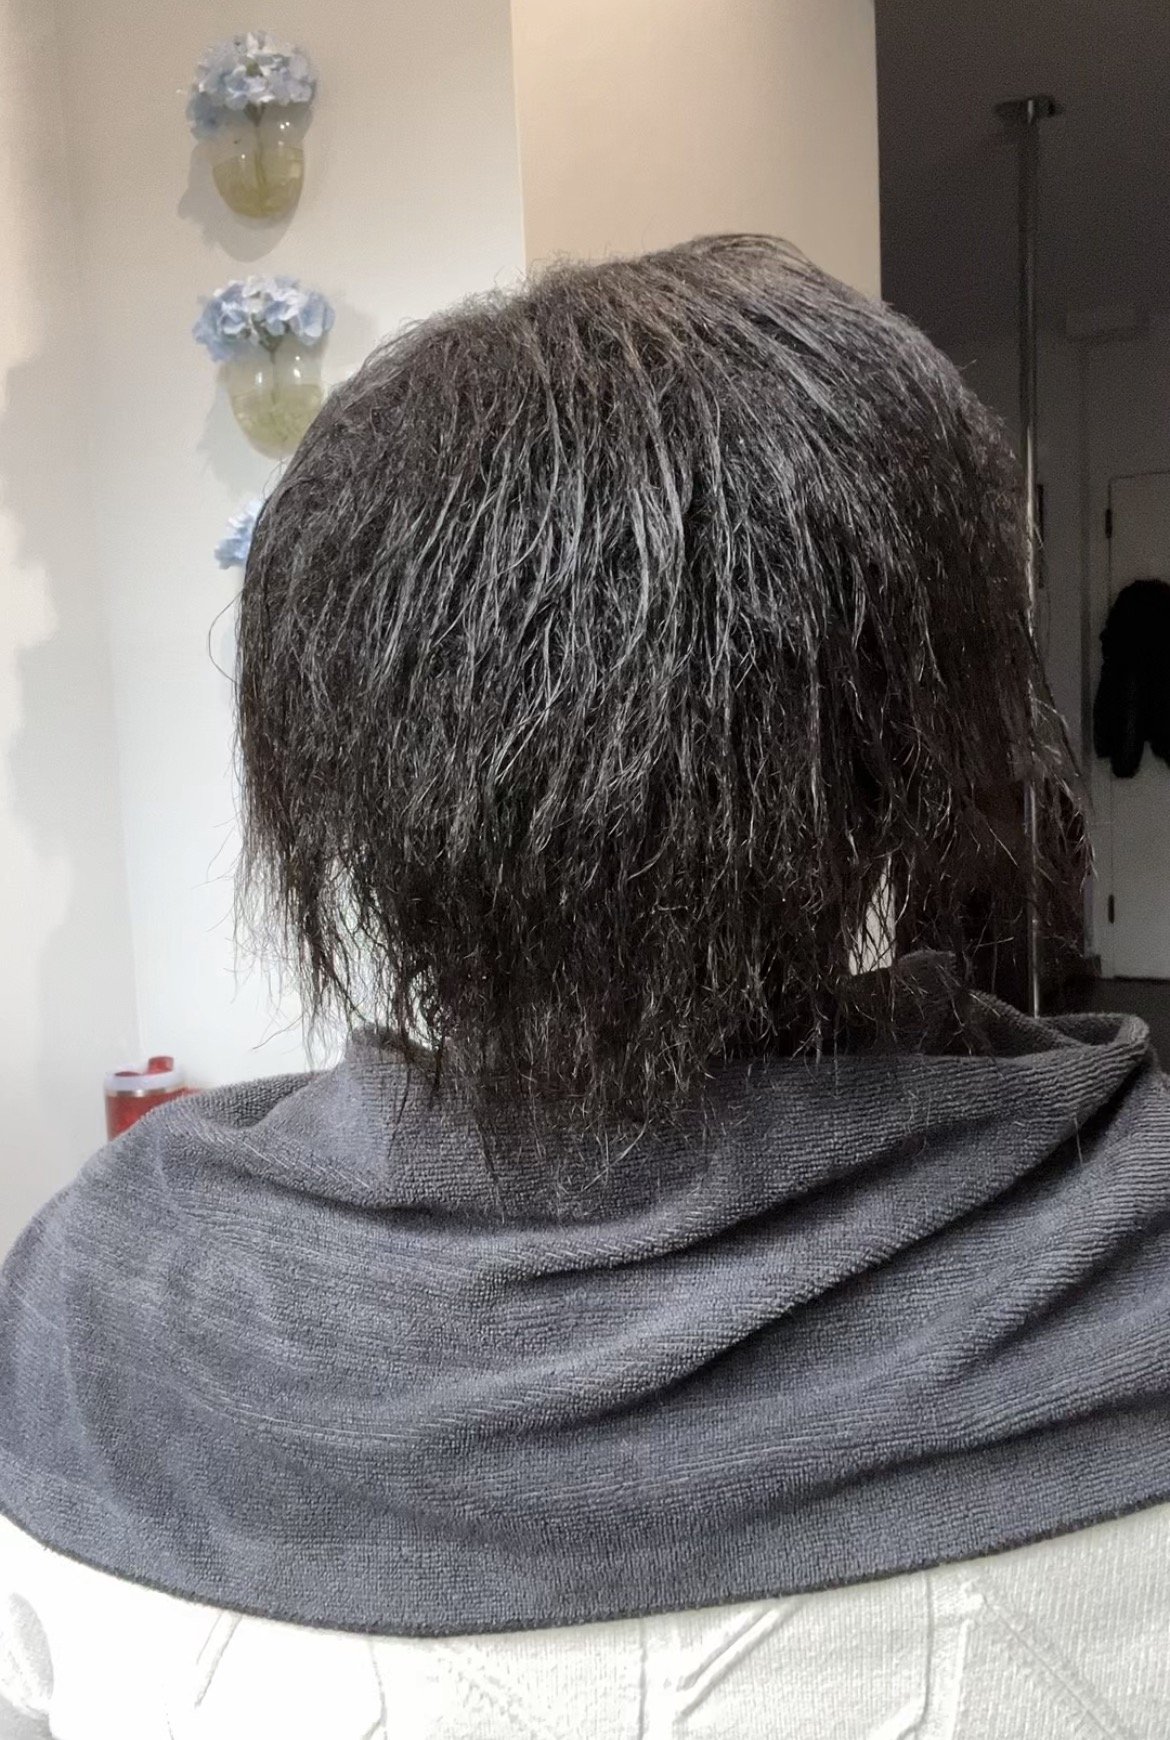
When you’re transitioning from a relaxer, your hair is in one of its most vulnerable states. You’re dealing with two different textures on the same strand: chemically relaxed hair and natural new growth.
The point where those two textures meet is called the line of demarcation. This is the weakest point of the hair. This is why so many people experience breakage during relaxer transitioning, especially if the hair isn’t properly protected and moisturized.
This is where protective styling becomes essential.
Why Sew-Ins Are One of the Best Protective Styles for Relaxer Transitioning
A traditional sew-in is one of my favorite protective styles for transitioning hair because it supports growth without neglecting hair care.
Here’s why sew-ins work so well:
1. Reduced Daily Manipulation
Every time you brush, comb, or restyle transitioning hair, stress is placed on the demarcation line. Sew-ins significantly reduce daily handling, which helps minimize breakage and allows hair to grow undisturbed.
2. Scalp Access and Hair Care
Unlike some protective styles, sew-ins still allow you to wash, moisturize, and care for your scalp and natural hair. Moisture is non-negotiable when growing out a relaxer. Styles that prevent cleansing often lead to dryness and breakage.
3. Length Retention
Hair is always growing. The real secret is keeping it on your head. When installed and maintained correctly, sew-ins create an environment where hair can grow, strengthen, and retain length over time.
How I Prep Transitioning Hair Before a Sew-In
Healthy installs always start with proper hair prep.
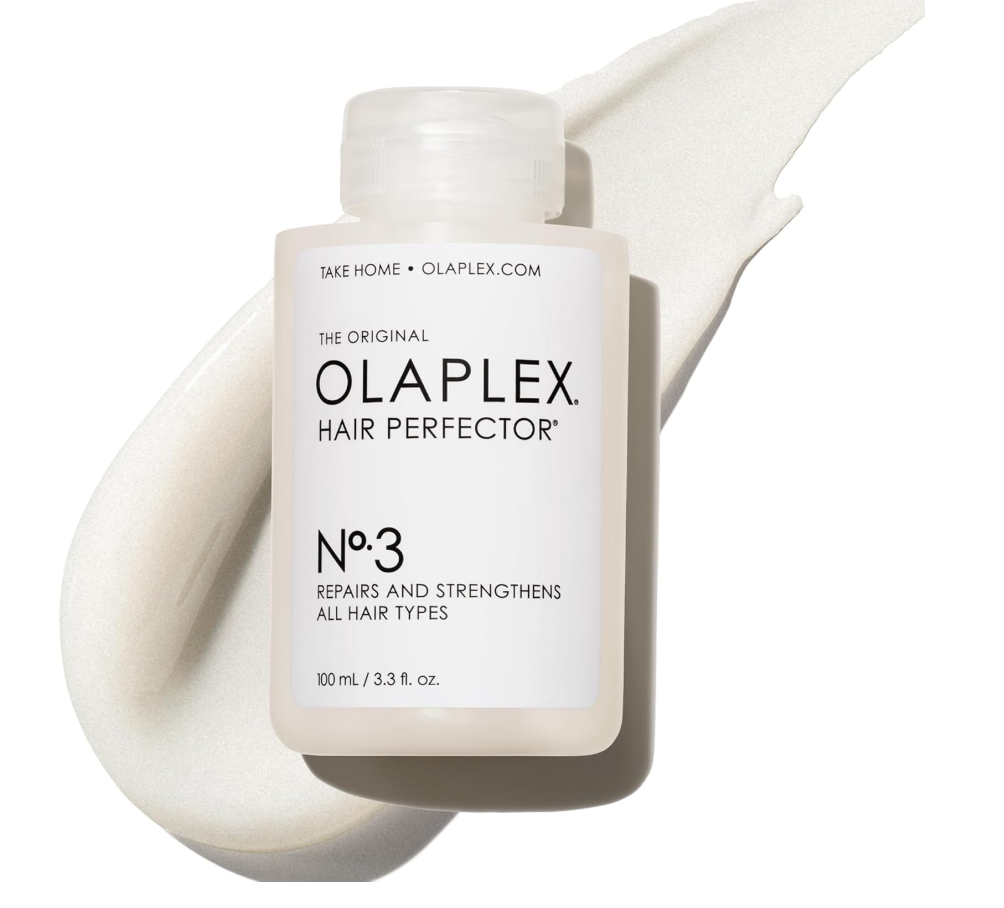
Bond Repair with Olaplex
I begin with an Olaplex bond-building treatment to strengthen the internal bonds of the hair. Chemical processing weakens these bonds over time, making relaxed hair more prone to snapping and shedding. For transitioning hair, bond repair helps maintain strength and flexibility while the two textures coexist.
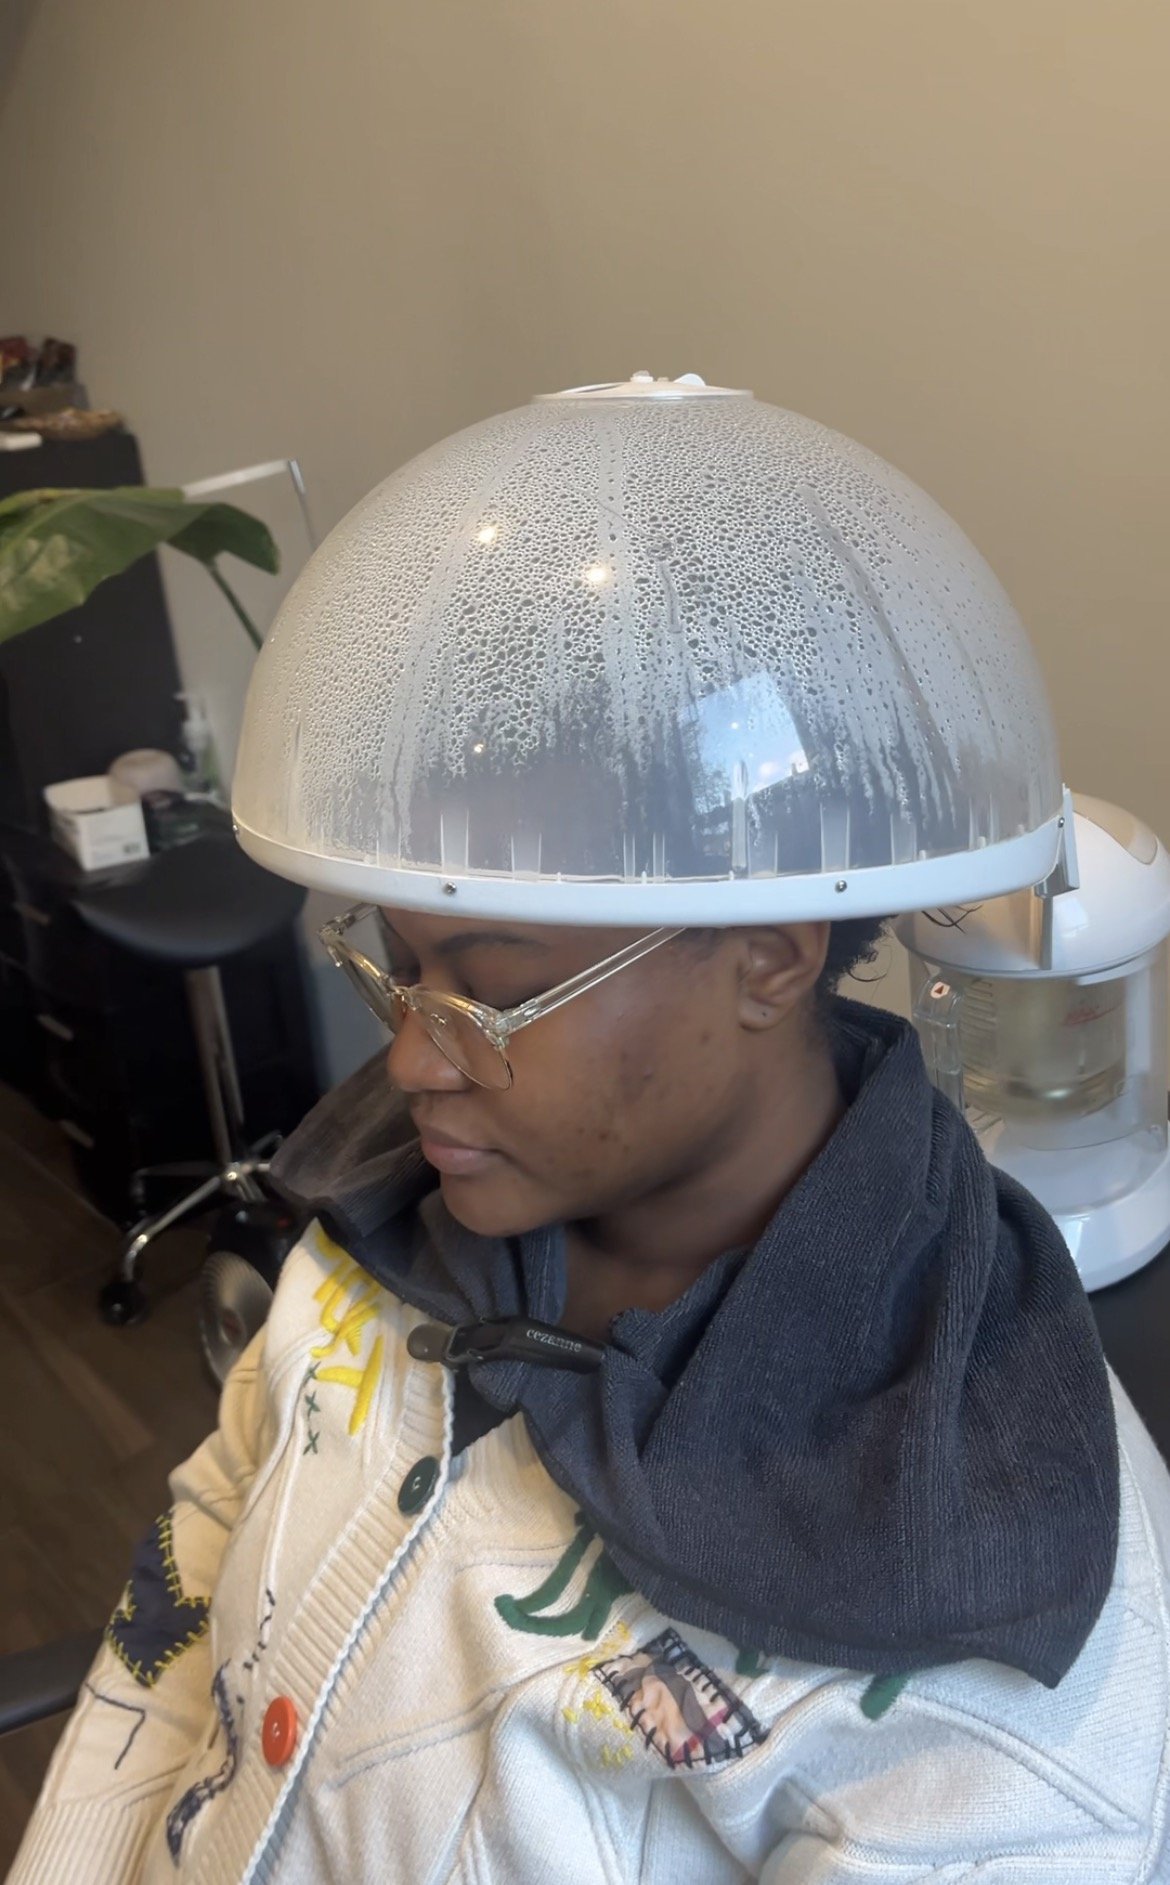
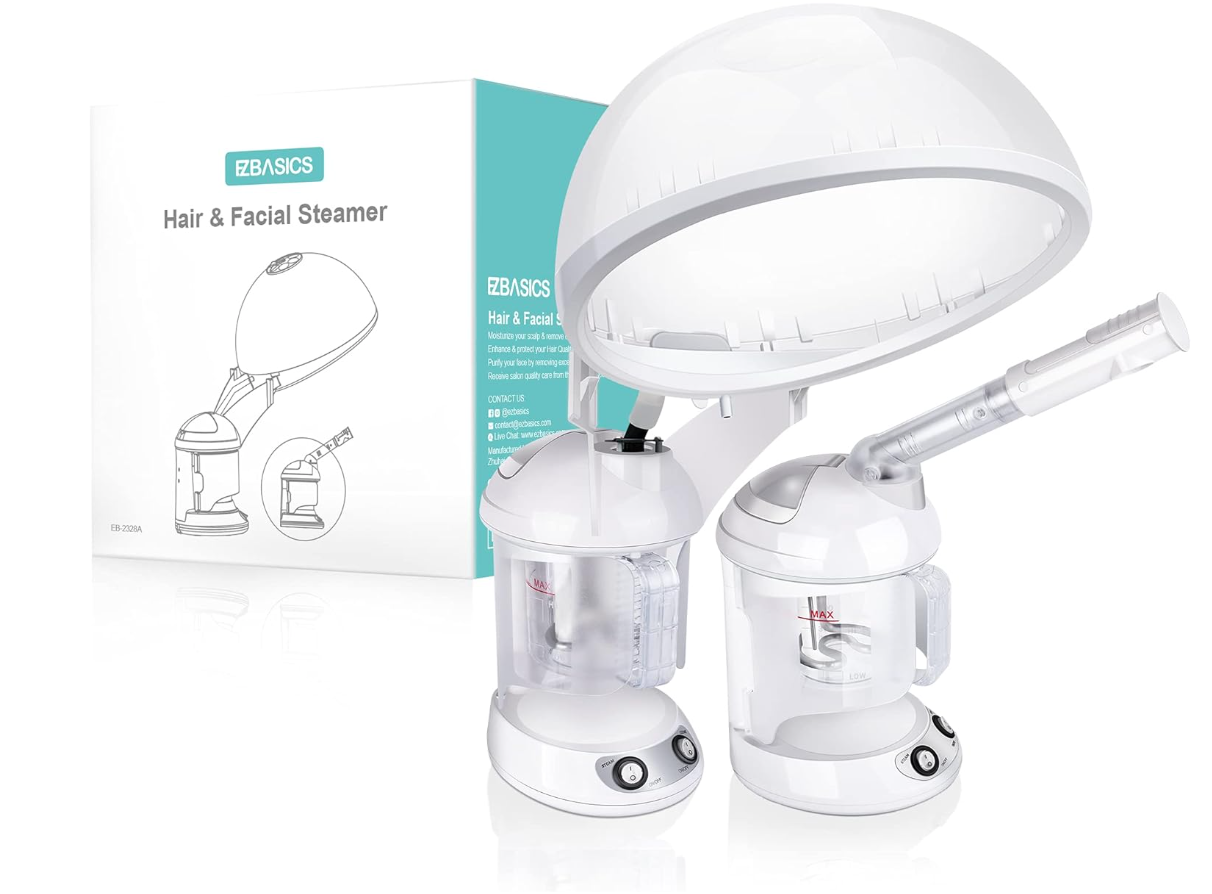
Moisture Boost with a Hair Steamer
To support the treatment, I incorporate a hair steamer. Steam helps hydrate the hair deeply, improving elasticity. Well-hydrated hair is more flexible and less likely to snap at the demarcation line.
Cleansing and Conditioning for Moisture Balance
After the treatment, I cleanse with the Moisture Shampoo from my TimelesslyCurly hair care line. Strength without moisture leads to stiffness, and stiffness leads to breakage.
Transitioning hair needs hydration for different reasons:
Relaxed hair is often drier and more porous
Natural new growth needs moisture to stay soft and manageable
This step smooths the cuticle, improves elasticity, and prepares the hair for braiding.

Bring your hair back to life with our Moisture Shampoo. This creamy, nourishing formula is designed to infuse your strands with long lasting hydration while keeping them light, bouncy, and full of movement. Unlike heavy moisturizing shampoos that can leave buildup behind, this one delivers the perfect balance: deep hydration without weighing your hair down.
Features:
Gently cleanses while replenishing moisture to dry hair
Creamy, rich formula leaves hair soft, hydrated, and manageable
Keeps hair weightless, making it perfect before blowouts or silk presses
Strengthens and nourishes from root to tip
Safe for all textures, including fine hair, extensions, and color-treated strands
Benefits:
Your hair feels hydrated, silky, and smooth after every wash
Perfect second step after the Volume Shampoo for a balanced cleanse
Preps your strands for styling by keeping them moisturized and pliable
Helps prevent dryness, frizz, and breakage between wash days
With Moisture Shampoo, every wash day leaves your hair hydrated, soft, and ready for whatever style you choose, whether it’s a blowout, silk press, or natural curls.
What’s inside:
SUNFLOWER SEED EXTRACT: provides UVA and UVB protection to preserve radiant color.
COCONUT MILK: creates a strong barrier around the hair shaft to prevent breakage.
RHODOCHROSITE: balances moisture levels.
How to Use:
SHAMPOO: wet hair and lather from roots to ends. Rinse well. Repeat if necessary.
CONDITIONER: after cleansing with shampoo, apply evenly from roots to ends. Leave in for 2-3 minutes and rinse well.
Next, I follow with my Deep Repair Treatment, a protein-rich yet deeply moisturizing conditioner. It contains keratin protein to reinforce weak areas of the strand while keeping the hair soft, elastic, and easy to detangle. All without feeling heavy.

Give your hair the ultimate reset with our Deep Repair Treatment. Formulated with the perfect balance of strength and hydration, this intensive mask revives dry, damaged strands while keeping them soft, defined, and healthy. Infused with keratin protein and rich moisturizers, it works from the inside out to repair, fortify, and restore your hair’s natural beauty.
Features:
Deeply hydrates while reinforcing strands with protein
Infuses keratin to strengthen and protect against breakage
Restores elasticity so curls clump, pop, and define
Improves softness, shine, and manageability
Ideal for hair that is heat styled, color treated, or prone to dryness
Benefits:
Hair feels instantly stronger and more moisturized
Visible results, curls spring back with bounce and definition
Keeps straight naturals and curly girls alike protected from heat and stress
Perfect for weekly deep treatments or paired with a steam treatment for maximum absorption
When your hair needs both moisture and strength, the Deep Repair Treatment delivers. It’s the key to keeping your strands resilient, hydrated, and full of life.
What’s inside:
SUNFLOWER OIL + MALACHITE: restore moisture, shine, and resilience while protecting hair from environmental stressors.
RHASSOUL: a mineral rich clay, makes this a great treatment for even finer textured hair.
How to Use:
Apply to clean towel dried hair and leave in for 5 to 15 minutes, then rinse. Tip: Focus on mid-lengths to ends to help prevent split ends.
Blow-Dry Prep: Lightweight Products Matter
For transitioning hair, product weight matters just as much as product quality.
I prep the hair with:
Emergency Miracle Treatment (lightweight cream leave-in)
Le Deux Blow-Dry Cream for softness and moisture
Amethyst Oil for heat protection, moisture sealing, and shine
Heavy buildup leads to dryness—and dryness leads to breakage. Lightweight layering allows the hair to stay flexible, protected, and easy to manage.

Achieve salon smooth results at home with the Silky Smooth Bundle. This trio delivers the perfect combination of hydration, protection, and shine to keep your hair silky, frizz-free, and healthy, whether you’re blow drying, silk pressing, or wearing your hair straight.
What’s Inside:
Emergency Miracle Treatment – Lightweight leave-in conditioner that penetrates deep for long-lasting moisture and frizz control.
Le Deux – Moisture rich blow dry cream that smooths strands, eases detangling, and protects from heat while giving your blowouts body and softness.
Amethyst Oil – Lightweight finishing oil that seals in moisture, locks in shine, and provides extra heat protection without weighing hair down.
Benefits:
Creates a smooth, sleek foundation for blowouts and silk presses
Double layered heat protection keeps strands safe from hot tools
Locks in hydration so hair stays soft, shiny, and manageable
Works for all hair types, especially straight naturals and those who heat style regularly
With the Silky Smooth Bundle, you’ll have everything you need to create polished, frizz-free styles that last. All while keeping your hair healthy and hydrated.
Foundation Matters: Healthy Braiding for Sew-Ins
Not all sew-ins are created equal. A healthy sew-in always starts with the foundation.
I use a lightweight Flex Paste as my braiding gel to keep the foundation neat without stiffness or buildup. I also avoid nets so my client has full scalp access for cleansing and hydration during long-term wear.
To reinforce the braids without adding tension, I use braiding hair, which strengthens the foundation while keeping the natural hair protected.
A protective style should never hurt. Tension does not equal longevity.

Say goodbye to heavy braiding gels that cause buildup, dryness, and scalp irritation. Flex Paste is your go-to styler for braids, twists, and protective styles. Its lightweight, nourishing formula penetrates the hair instead of sitting on top, giving you flexible hold without blocking out essential moisture.
Benefits:
Perfect for braiding, twisting, and protective styles
Lightweight formula that won’t clog your scalp or dry out your hair
Keeps styles neat, flexible, and touchable
Nourishes while styling, promoting a healthy scalp and growth-friendly environment
What’s inside:
Pumpkin Seed Protein – Strengthens and nourishes hair, improving manageability while keeping it soft and healthy.
Bentonite Clay – Provides natural, moveable hold and scalp protection without flaking or buildup.
Unlike heavy gels, Flex Paste gives you clean, hydrated styles that last with no flaking, no crust, and no dryness.
How to Use:
Apply desired amount to damp or dry hair and style away!

Choosing the Right Hair Texture for Transitioning Hair
For this install, I used the Kinky Straight Weft bundles from my Timelessly Curly hair extension line in 20 inches, natural black.
Choosing the right texture is crucial when transitioning from a relaxer. Textures like kinky straight mimic the density and movement of textured hair, making blending easier without relying on excessive heat.
Less heat means less stress on the demarcation line, and healthier hair long-term.
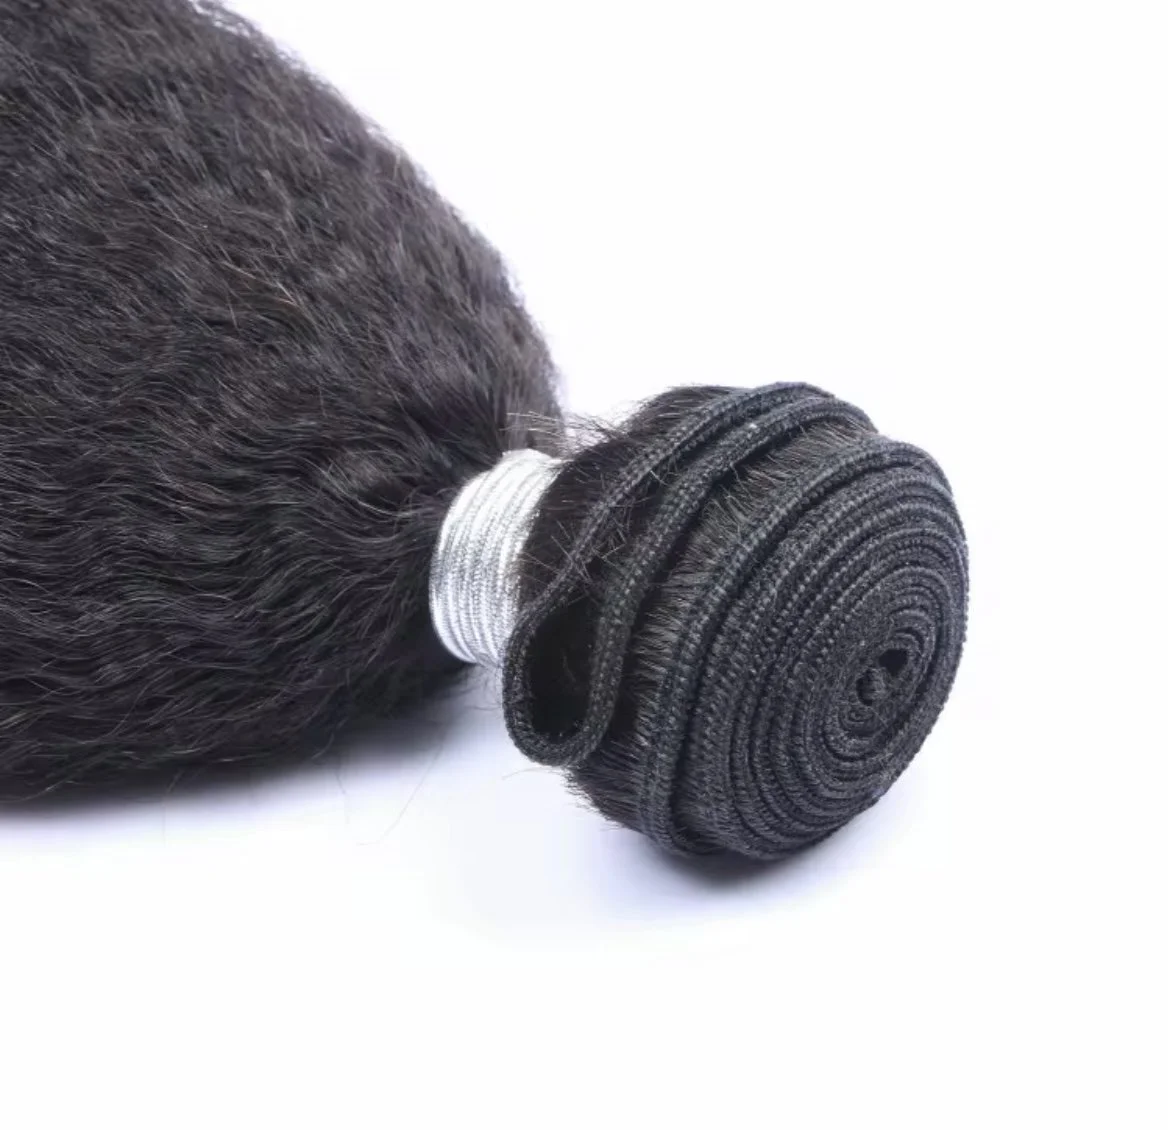
Get the ultimate blend of natural beauty and versatility with our Kinky Straight Machine Wefts. Designed to mimic the look of blow-dried natural hair, this texture gives you a full, realistic finish that blends effortlessly with textured styles.
Features:
100% raw, unprocessed Cambodian human hair
Natural dark brown 1B color
Machine-drawn double weft for durability and long wear
Reinforced wefts: no chemical glue, no unraveling
Full, thick ends without split or dry hair
Natural luster and texture that mimics blow dried natural hair
Can be dyed, bleached, or heat styled to match your look
Available in multiple lengths (16”–20”)
Benefits:
Full & Natural: Kinky straight texture gives the perfect blend with textured or relaxed hair for a flawless install.
Volume & Body: Thick from root to tip for a natural fullness that doesn’t require excessive bundles.
Versatile Styling: Wear it straight, curled, or pressed. It holds styles beautifully while keeping a natural look.
Low Maintenance: No tangling, minimal shedding, and long lasting with proper care.
Pro Tip: Two bundles are ideal for a full head install, giving you body, movement, and a protective style.
With our Raw Cambodian Kinky Straight Machine Wefts, you get the perfect balance of strength, softness, and realism — making it a must-have for protective styles, sew-ins, and wig creations.
📦 To ensure the highest quality, all extensions are processed fresh upon order. Shipping takes approximately 7 business days.
Common Sew-In Mistakes to Avoid When Transitioning
Here are the most common mistakes I see:
Leaving sew-ins installed too long (no more than 3 months, with maintenance at 6 weeks)
Avoiding scalp cleansing
Using excessive heat on leave-out
Treating the sew-in like your real hair doesn’t exist
Your real hair is the priority. The sew-in is just the support system.
When flat-ironing transitioning hair, heat should be limited to no more than once per week, always with heat protection and minimal passes.
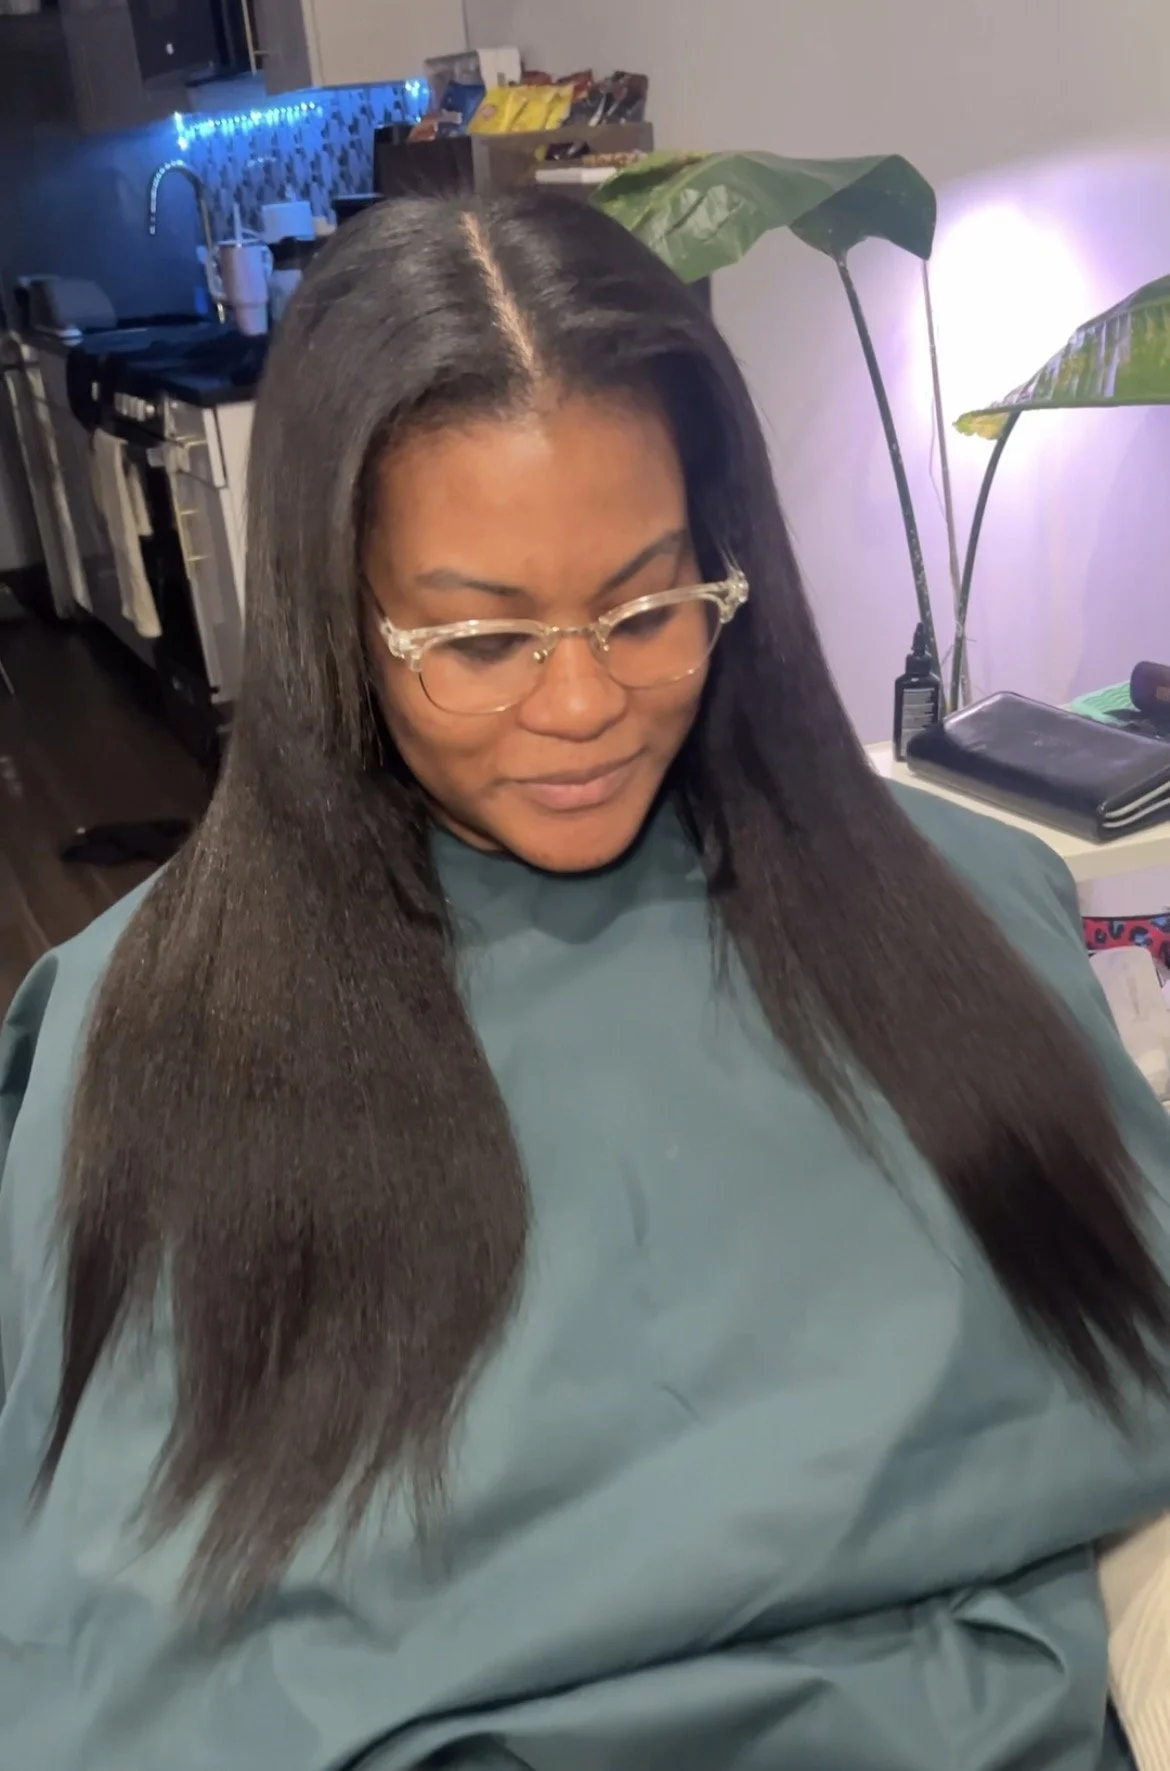
Final Results and Why I Love Sew-Ins for Transitioning Clients
With only two bundles, the hair looks full from root to ends and blends seamlessly. This is why I love sew-ins for clients growing out relaxers. They offer protection, versatility, and confidence during a season that can feel overwhelming.
Growing out a relaxer doesn’t have to mean starting over. With intention, consistency, and the right tools, you can grow your hair safely. Without the big chop.