I Changed My Mind About Hair Extensions
Clip-In Extensions for Natural Hair:
Why I’m Recommending Them More Than Sew-Ins
If you’ve been trying to decide between clip-in extensions vs sew-in extensions for natural hair, there’s one thing I want you to know: there isn’t one extension method that’s right for everyone.
As a hairstylist, I used to recommend sew-ins to many of my clients. Over the years, however, I’ve changed the way I approach hair extensions. Instead of simply choosing the most popular method, I look at my client’s natural hair, scalp health, lifestyle, maintenance routine, and hair goals.
For this client, that meant moving away from a traditional sew-in and choosing kinky straight clip-in extensions instead.
In this appointment, I’m reinstalling the same set of clip-ins for the second time—and these extensions were already about nine months old when we filmed. Since then, she has returned for another reinstall.
Here’s why clip-ins have become one of my favorite low-manipulation extension methods for natural hair, plus the exact treatments, tools, and TimelesslyCurly products I use to prepare her natural hair for a seamless installation.

Why I Chose Clip-In Extensions for My Client
When choosing the best hair extension method for natural hair, I always start with the person wearing them.
This client has a busy career and doesn’t always have the time to style her natural hair from scratch. She wants to be able to look polished for work and events without having to completely restyle her hair every morning.
She also deals with a flaky scalp.
That second factor is especially important.
I wanted her to have easy access to her scalp so she could thoroughly shampoo it, moisturize and care for her natural hair, and keep up with a healthy hair routine.
That’s where removable clip-in hair extensions made so much sense.
She can take her extensions out, properly cleanse her scalp and hair, and reinstall them when she’s ready. She gets the fullness and length of extensions without having to keep her natural hair tucked away in a long-term installation.
For her, the goal isn’t to become dependent on extensions.
The extensions are there to complement her lifestyle.
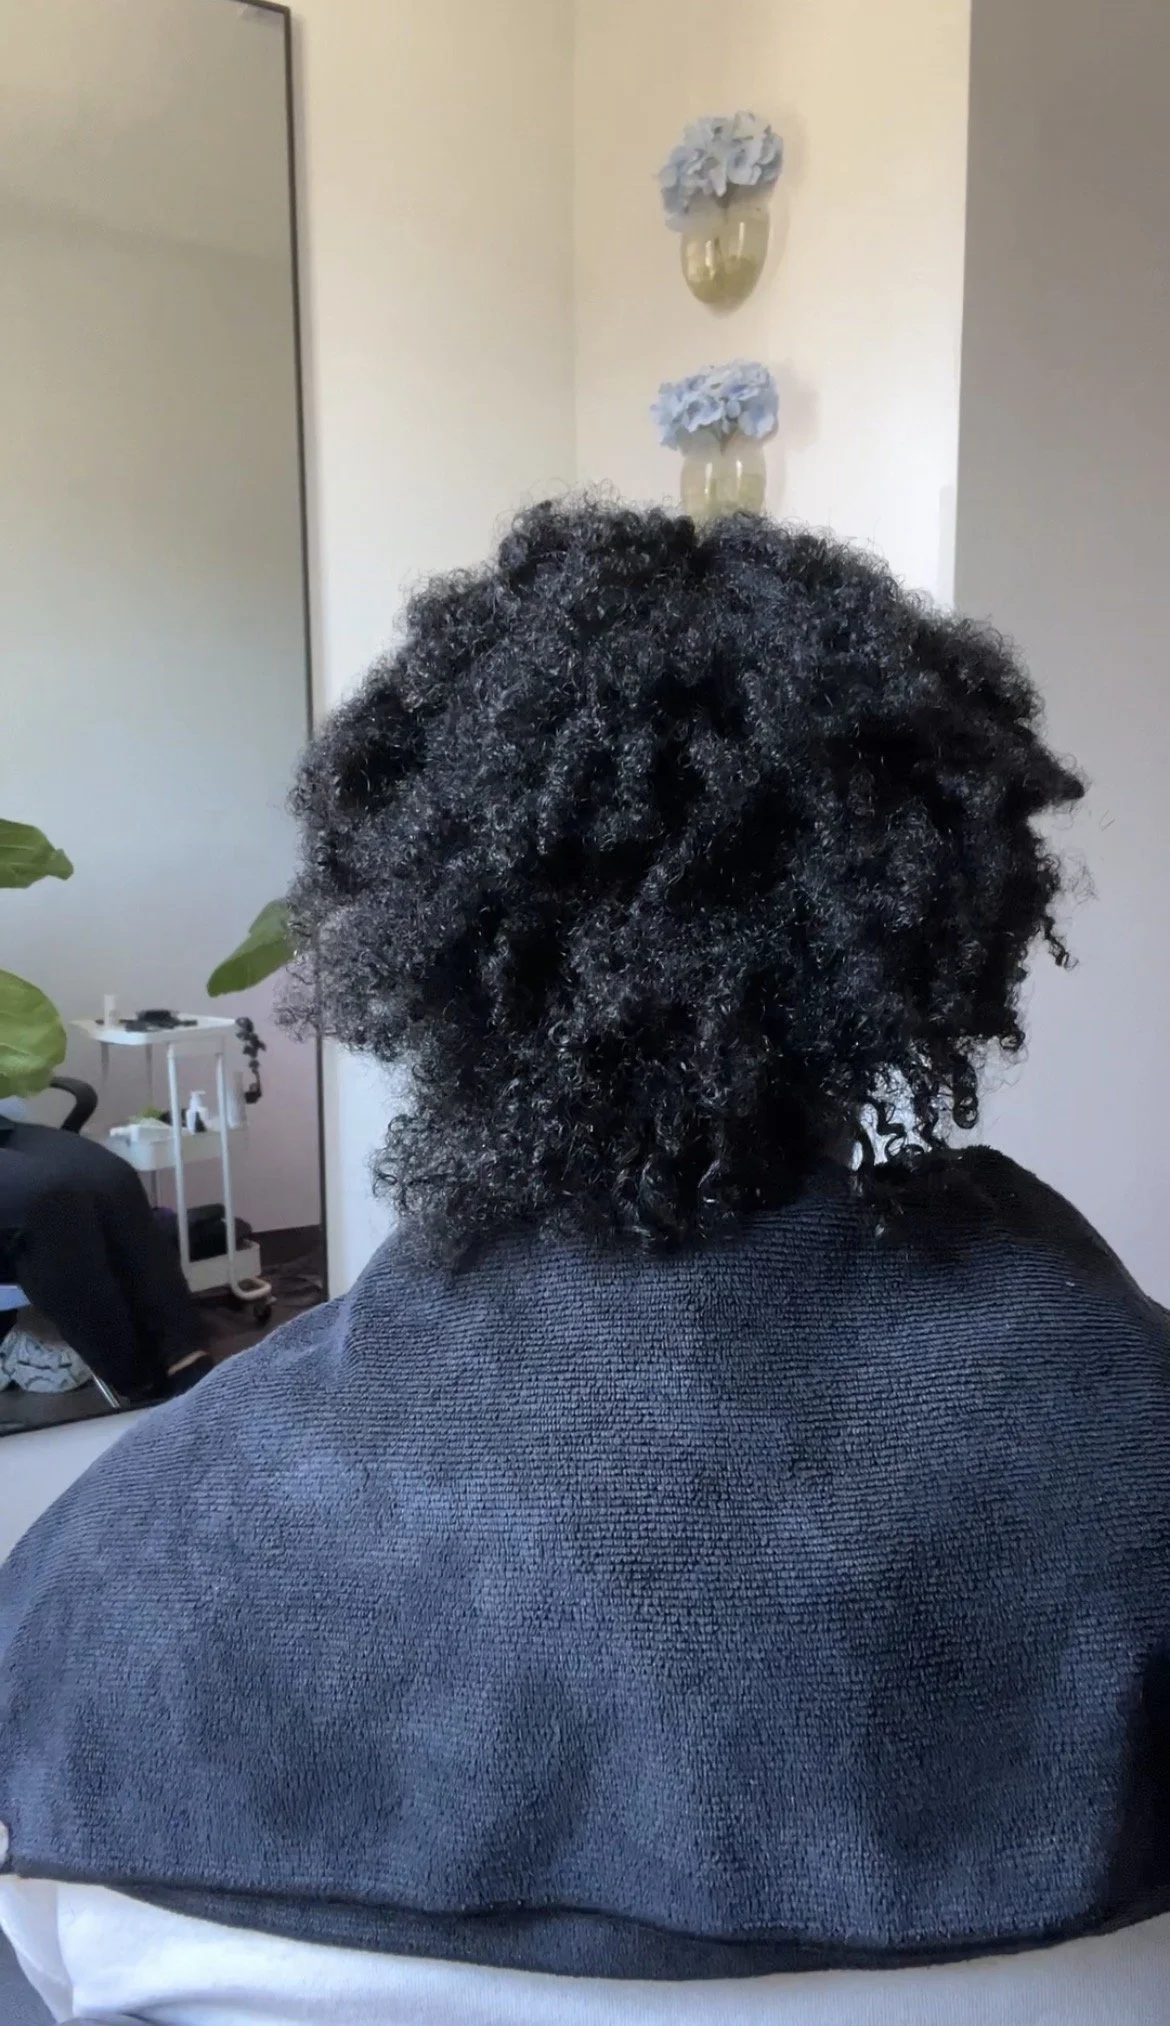
Clip-Ins vs Sew-Ins: Which Is Better?
I get asked this question all the time: Are clip-ins better than sew-ins?
I don’t think one is automatically better than the other. They simply work for different people.
Clip-in extensions may be a better fit if you:
Want to regularly wash and access your scalp
Like switching between your natural hair and extensions
Want a low-commitment extension method
Are new to wearing hair extensions
Want to add temporary length and volume
Want the flexibility to wear a full install one day and a ponytail the next
Don't want glue or a permanent installation
A sew-in may make more sense if you prefer waking up every morning with your extensions already installed and you're comfortable maintaining your natural hair and scalp while wearing a longer-term style.
The question I ask isn't, “Which extension method is best?”
It’s:
“Which extension method works best for your hair, scalp, lifestyle, and goals?”
Step 1: Start With Clean, Healthy Natural Hair
Healthy natural hair is the foundation of a good extension install.
Before installing this client’s clip-ins, I started by clarifying and shampooing her natural hair to remove buildup and prepare it for her treatments.
One mistake I see with extensions is focusing so much on the added hair that we forget about the hair underneath.
Your natural hair is still the priority.
The stronger, healthier and more moisturized your natural hair is, the easier it will be to style and blend with your extensions.

Reset your hair and scalp with our Volume Shampoo. This clarifying shampoo is powered with bentonite clay to gently pull out buildup, impurities, and excess oils — giving your scalp a “facial” while leaving your hair soft, clean, and hydrated. Unlike harsh clarifiers, it removes product residue without stripping your hair, making it the perfect first step for healthy, thriving strands.
Features:
Deeply cleanses scalp and hair to remove buildup and impurities
Infused with bentonite clay for a detoxifying yet moisturizing cleanse
Leaves hair light, fresh, and weightless — never dry or brittle
Creates the perfect foundation for blowouts, silk presses, or protective styles
Works beautifully on all textures, especially fine hair that gets weighed down easily
Benefits:
Your scalp feels refreshed and balanced, not tight or dry
Helps curls, blowouts, and silk presses last longer by starting on a clean base
Lightweight formula makes it safe for weekly use
Pairs perfectly with the Moisture Shampoo for the ultimate cleanse + hydration routine
Think of the Volume Shampoo as your reset button, the one step that ensures your hair is clean, healthy, and ready to shine.
What’s inside:
•QUINOA PROTEIN: penetrates the hair shaft plumping each strand to maximum fullness.
•BENTONITE CLAY: plumps, strengthens and protects hair.
How to Use:
SHAMPOO: Wet hair and lather from roots to ends. Rinse.
CONDITIONER: After cleansing with shampoo, apply evenly from roots to ends. Leave in for 3-5 minutes and rinse thoroughly.
Step 2: Strengthen the Hair With K18
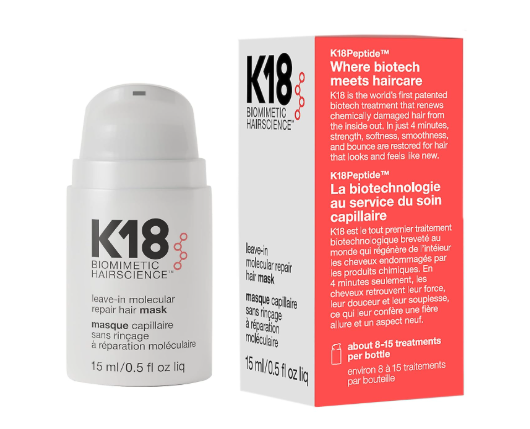
After shampooing, I applied a K18 treatment.
K18 is one of my favorite salon treatments when I want to give the hair additional support, particularly when I'm working with hair that experiences heat styling, chemical services or everyday wear and tear.
I like pairing strengthening treatments with a routine focused on manageability and moisture because healthy hair isn't just about how soft it feels. We also want the strands to remain strong enough to handle the client's regular styling routine.
This becomes even more important when you wear hair extensions.
Clip-ins may be removable, but your natural hair still needs consistent care underneath them.
Step 3: Use a Hair Steamer for Added Hydration
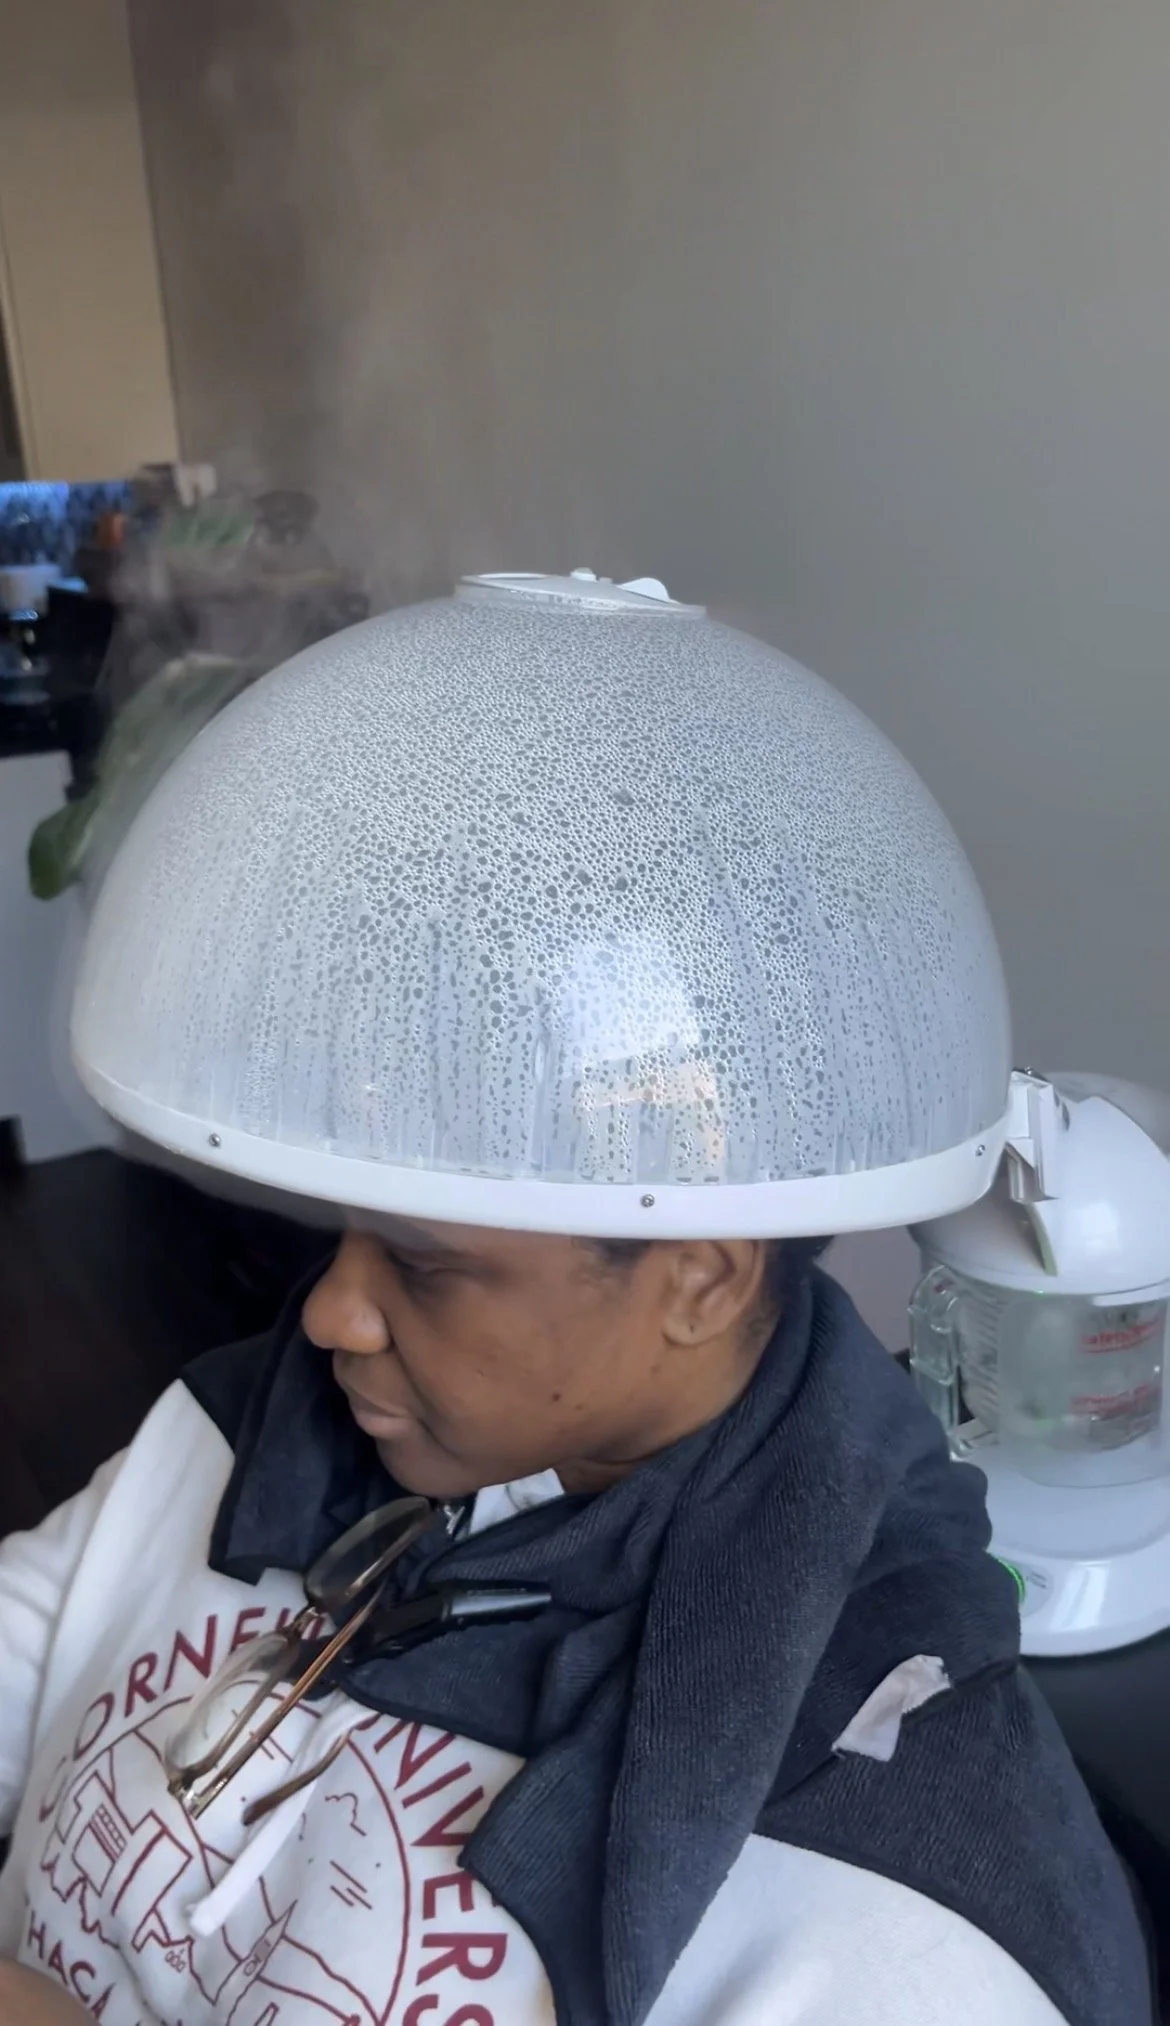
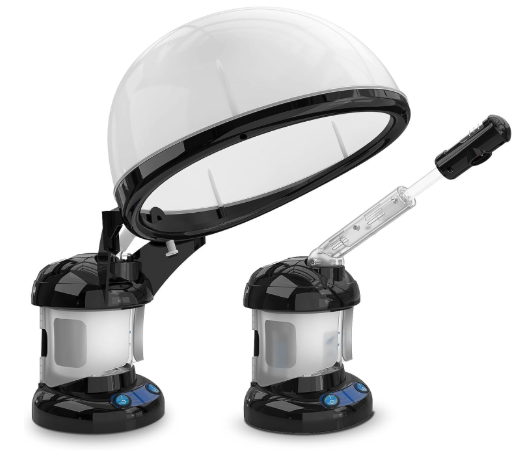
Next comes one of my favorite salon tools: the hair steamer.
After applying her treatment, I let her sit under the steamer for a few minutes.
I love incorporating steam into my appointments because it helps soften the hair and supports a moisture-focused conditioning routine.
I'm always thinking about the balance between strength and moisture.
And because this client's natural hair will spend time tucked away underneath her clip-ins, I want it to feel moisturized, soft and manageable before I even begin styling.
Step 4: Prep the Hair With the Right Blowout Products
If you want your clip-in extensions to blend with natural hair, your prep is everything.
For this blowout, I use three products from my TimelesslyCurly haircare line:
Emergency Miracle Treatment
First, I apply the Emergency Miracle Treatment, my lightweight leave-in conditioner.
This gives the hair additional moisture and slip while making detangling easier.
Whether you plan to wear your hair curly, blown out or straight, I recommend using a leave-in conditioner as part of your styling routine.
Le Deux Blow Dry Cream
Next, I apply Le Deux.
Don't sleep on a good blow-dry cream!
A blow-dry cream can completely change the finished result of a blowout. Le Deux helps keep the hair soft and manageable while prepping it for heat styling, so the finished blowout feels silky and smooth instead of dry and crunchy.
It's especially important when I'm trying to create a smooth foundation that will blend with kinky straight clip-in extensions.
Amethyst Oil
Finally, I apply the Amethyst Oil.
This is a lightweight finishing oil that adds shine and softness while also providing heat protection.
Using it during my blowout prep helps seal everything in and gives me another layer of protection before heat styling.
Later in the appointment, I use a small amount again on both the natural hair and extensions to add shine and reduce frizz without weighing everything down.
A little goes a long way!

Achieve salon smooth results at home with the Silky Smooth Bundle. This trio delivers the perfect combination of hydration, protection, and shine to keep your hair silky, frizz-free, and healthy, whether you’re blow drying, silk pressing, or wearing your hair straight.
What’s Inside:
Emergency Miracle Treatment – Lightweight leave-in conditioner that penetrates deep for long-lasting moisture and frizz control.
Le Deux – Moisture rich blow dry cream that smooths strands, eases detangling, and protects from heat while giving your blowouts body and softness.
Amethyst Oil – Lightweight finishing oil that seals in moisture, locks in shine, and provides extra heat protection without weighing hair down.
Benefits:
Creates a smooth, sleek foundation for blowouts and silk presses
Double layered heat protection keeps strands safe from hot tools
Locks in hydration so hair stays soft, shiny, and manageable
Works for all hair types, especially straight naturals and those who heat style regularly
With the Silky Smooth Bundle, you’ll have everything you need to create polished, frizz-free styles that last. All while keeping your hair healthy and hydrated.
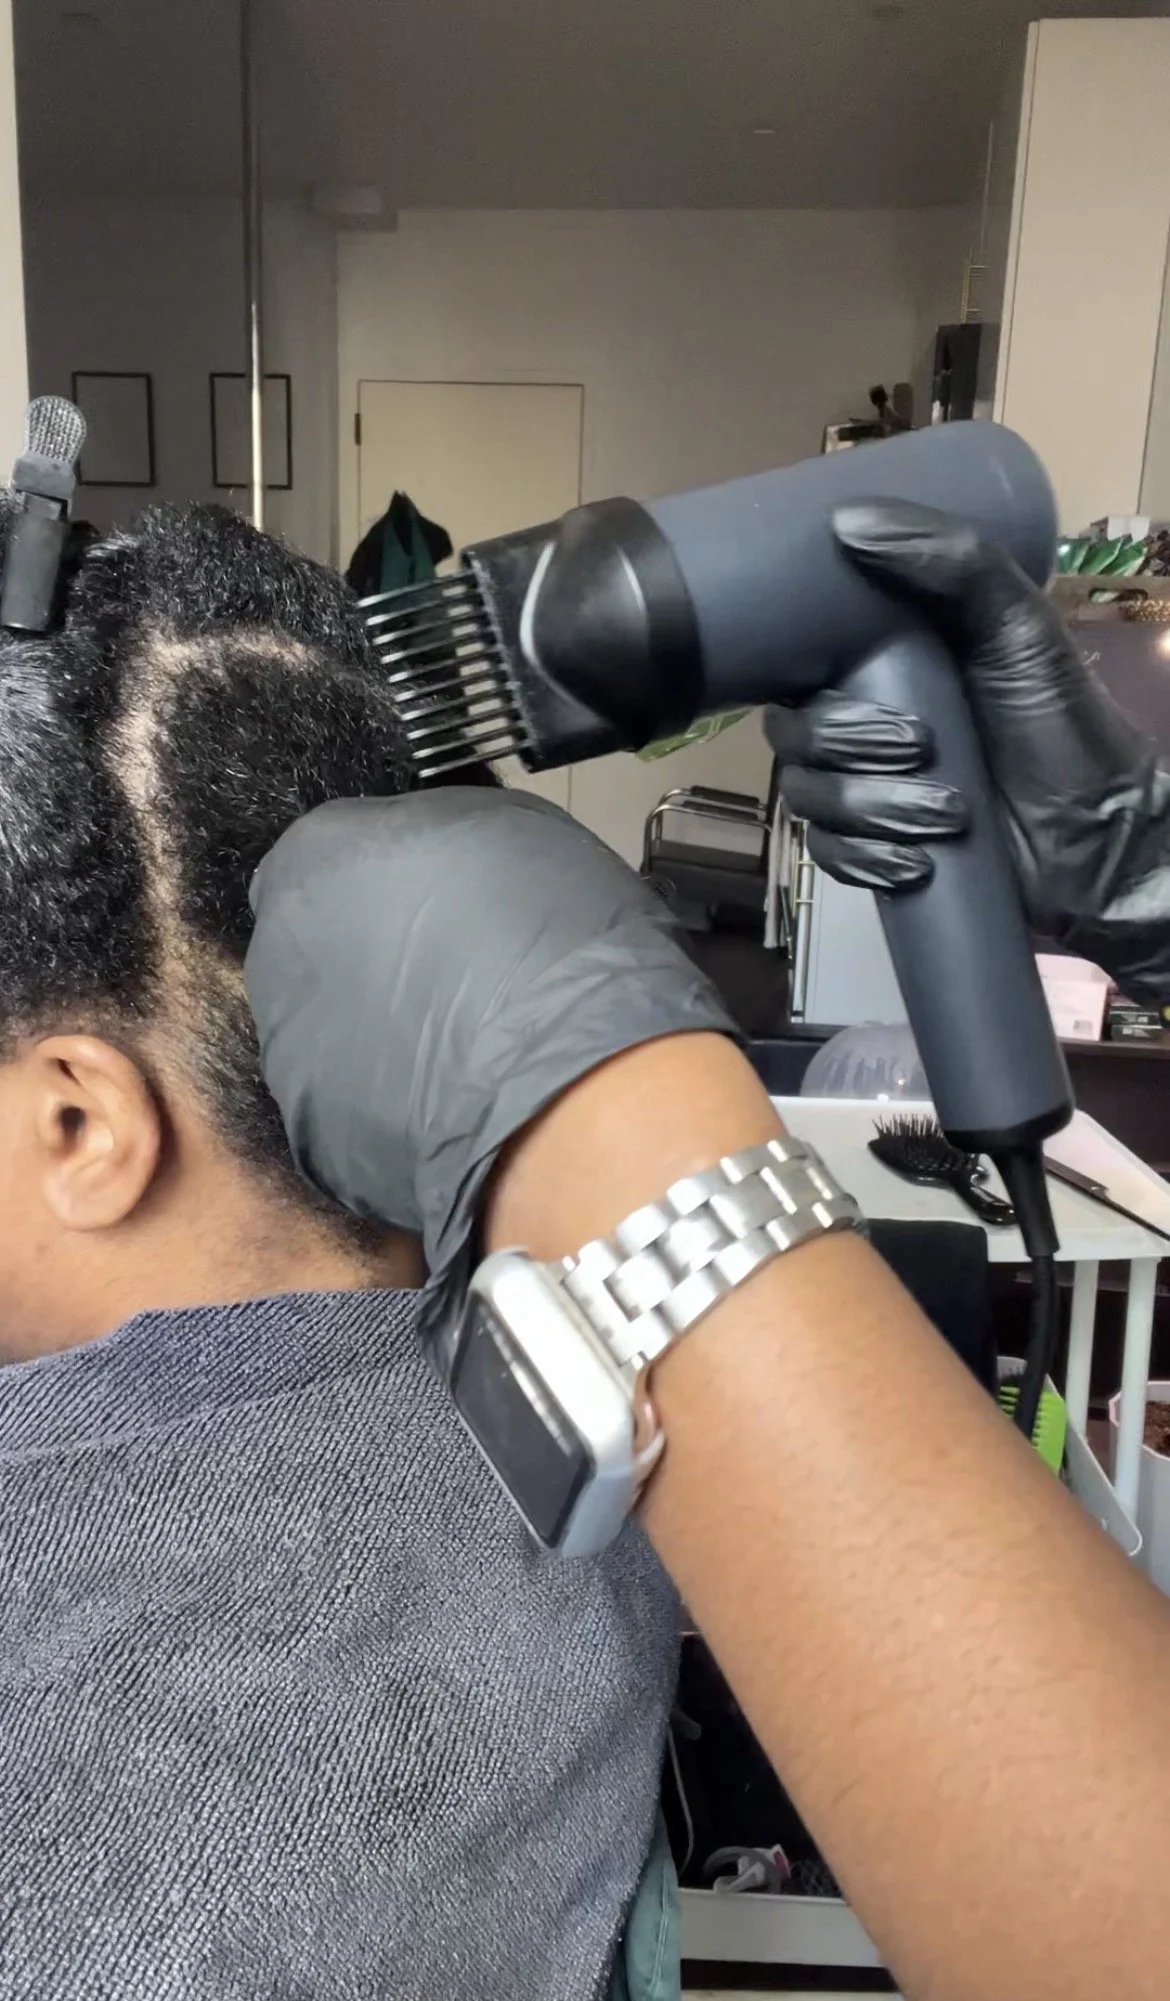
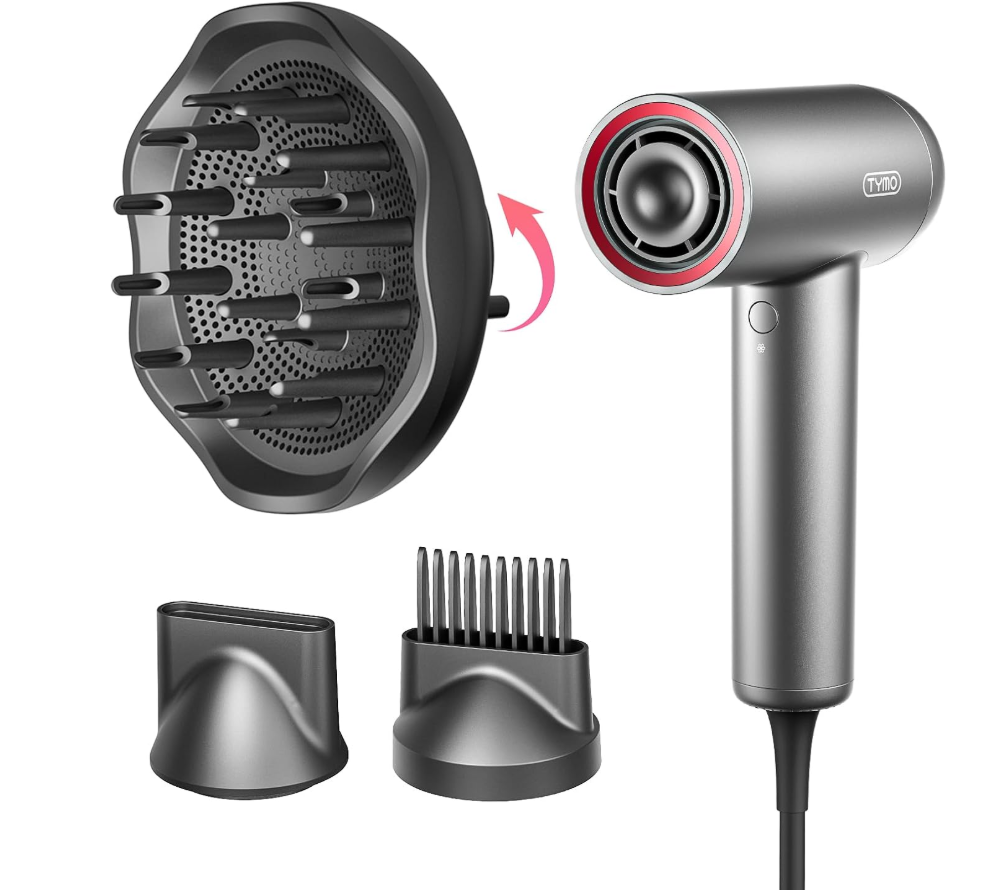
Step 5: Trim Your Natural Hair—Even When You Wear Extensions
Here's something that gets overlooked:
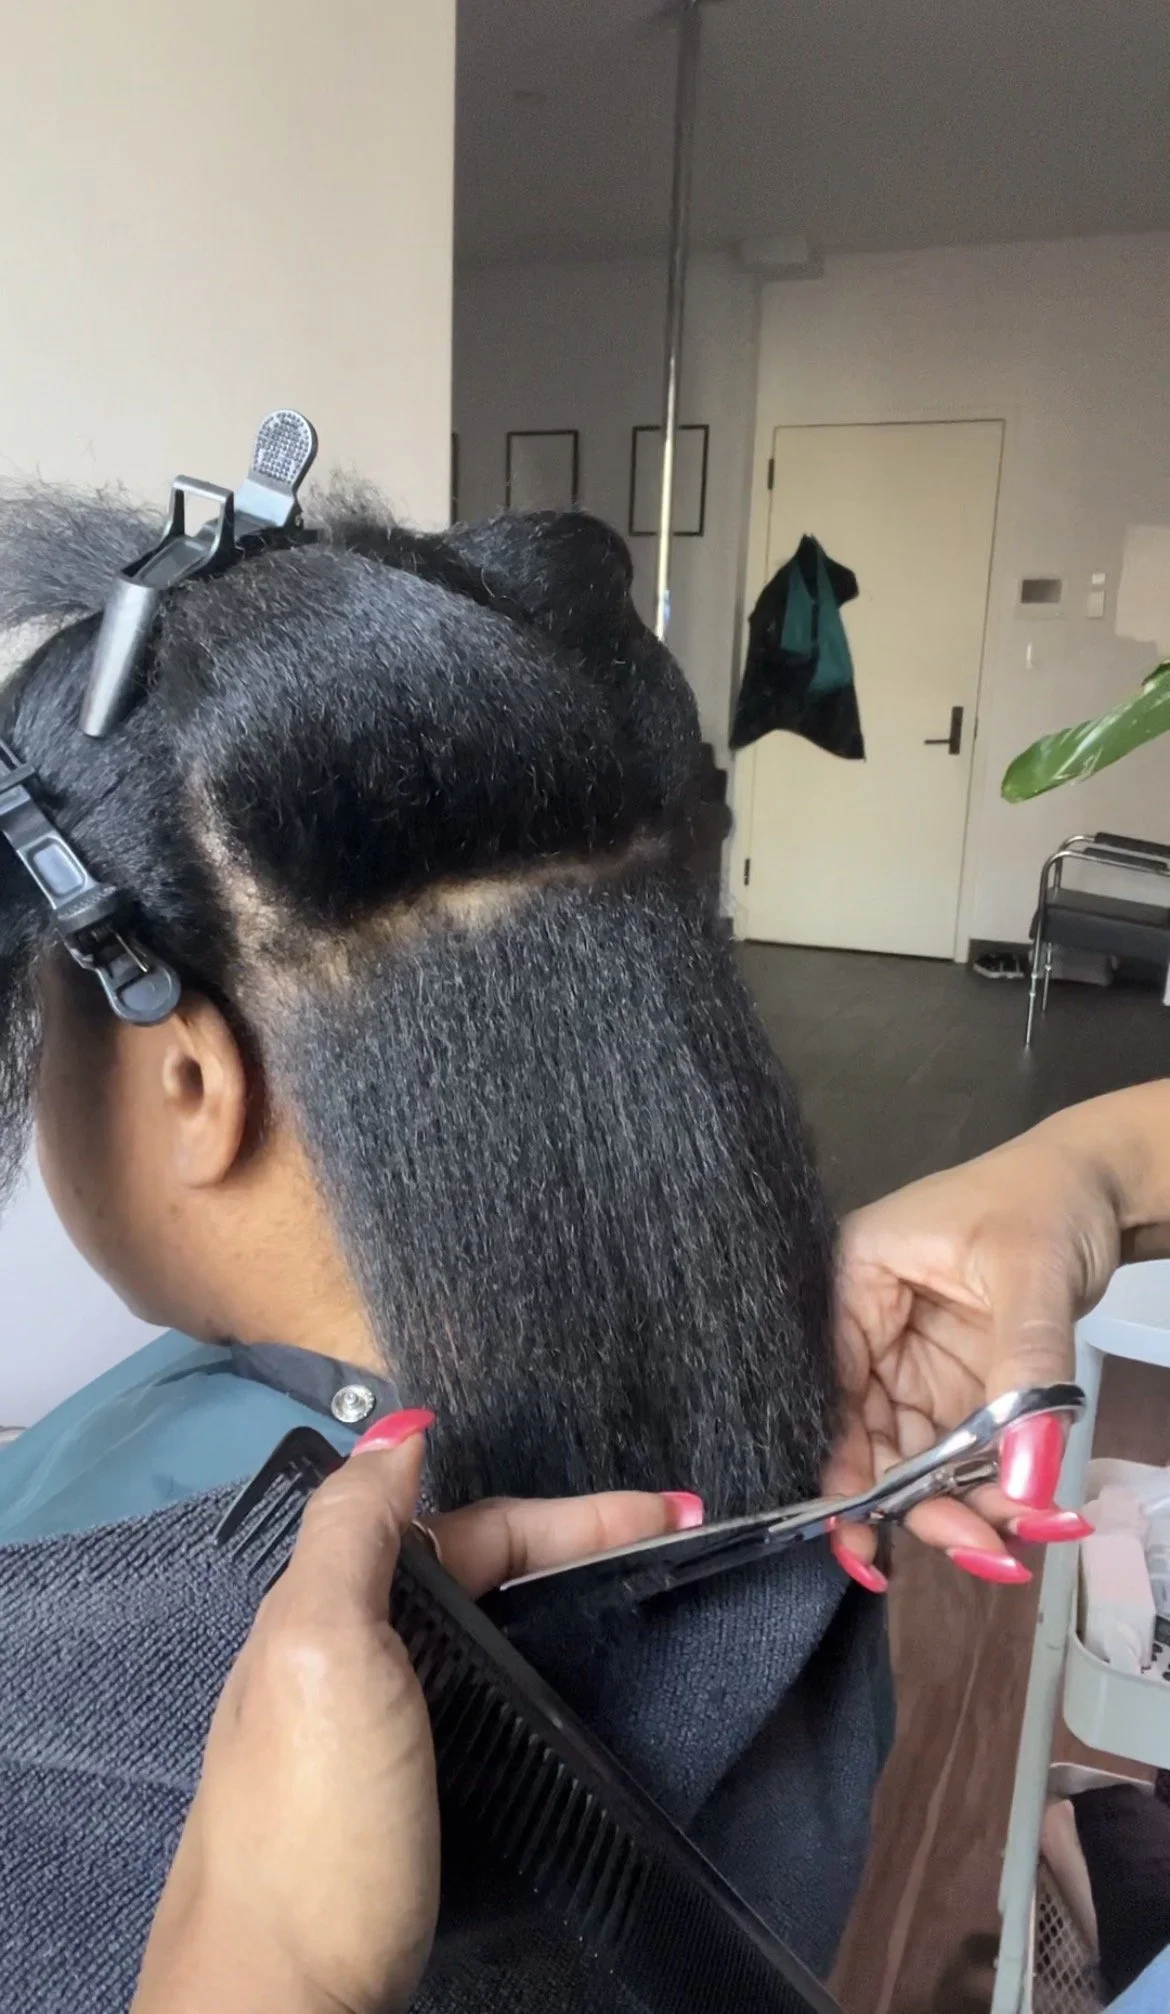
You still need trims when you wear hair extensions.
In fact, keeping your natural hair trimmed can actually help your extensions look better.
Removing damaged and split ends improves the shape of the haircut and makes it easier for me to create a seamless transition between the client's natural hair and extensions.
We don't want to be able to see where her natural hair stops and her extensions begin.
Everything should flow together.
Step 6: Create a Low-Manipulation Braid-Down
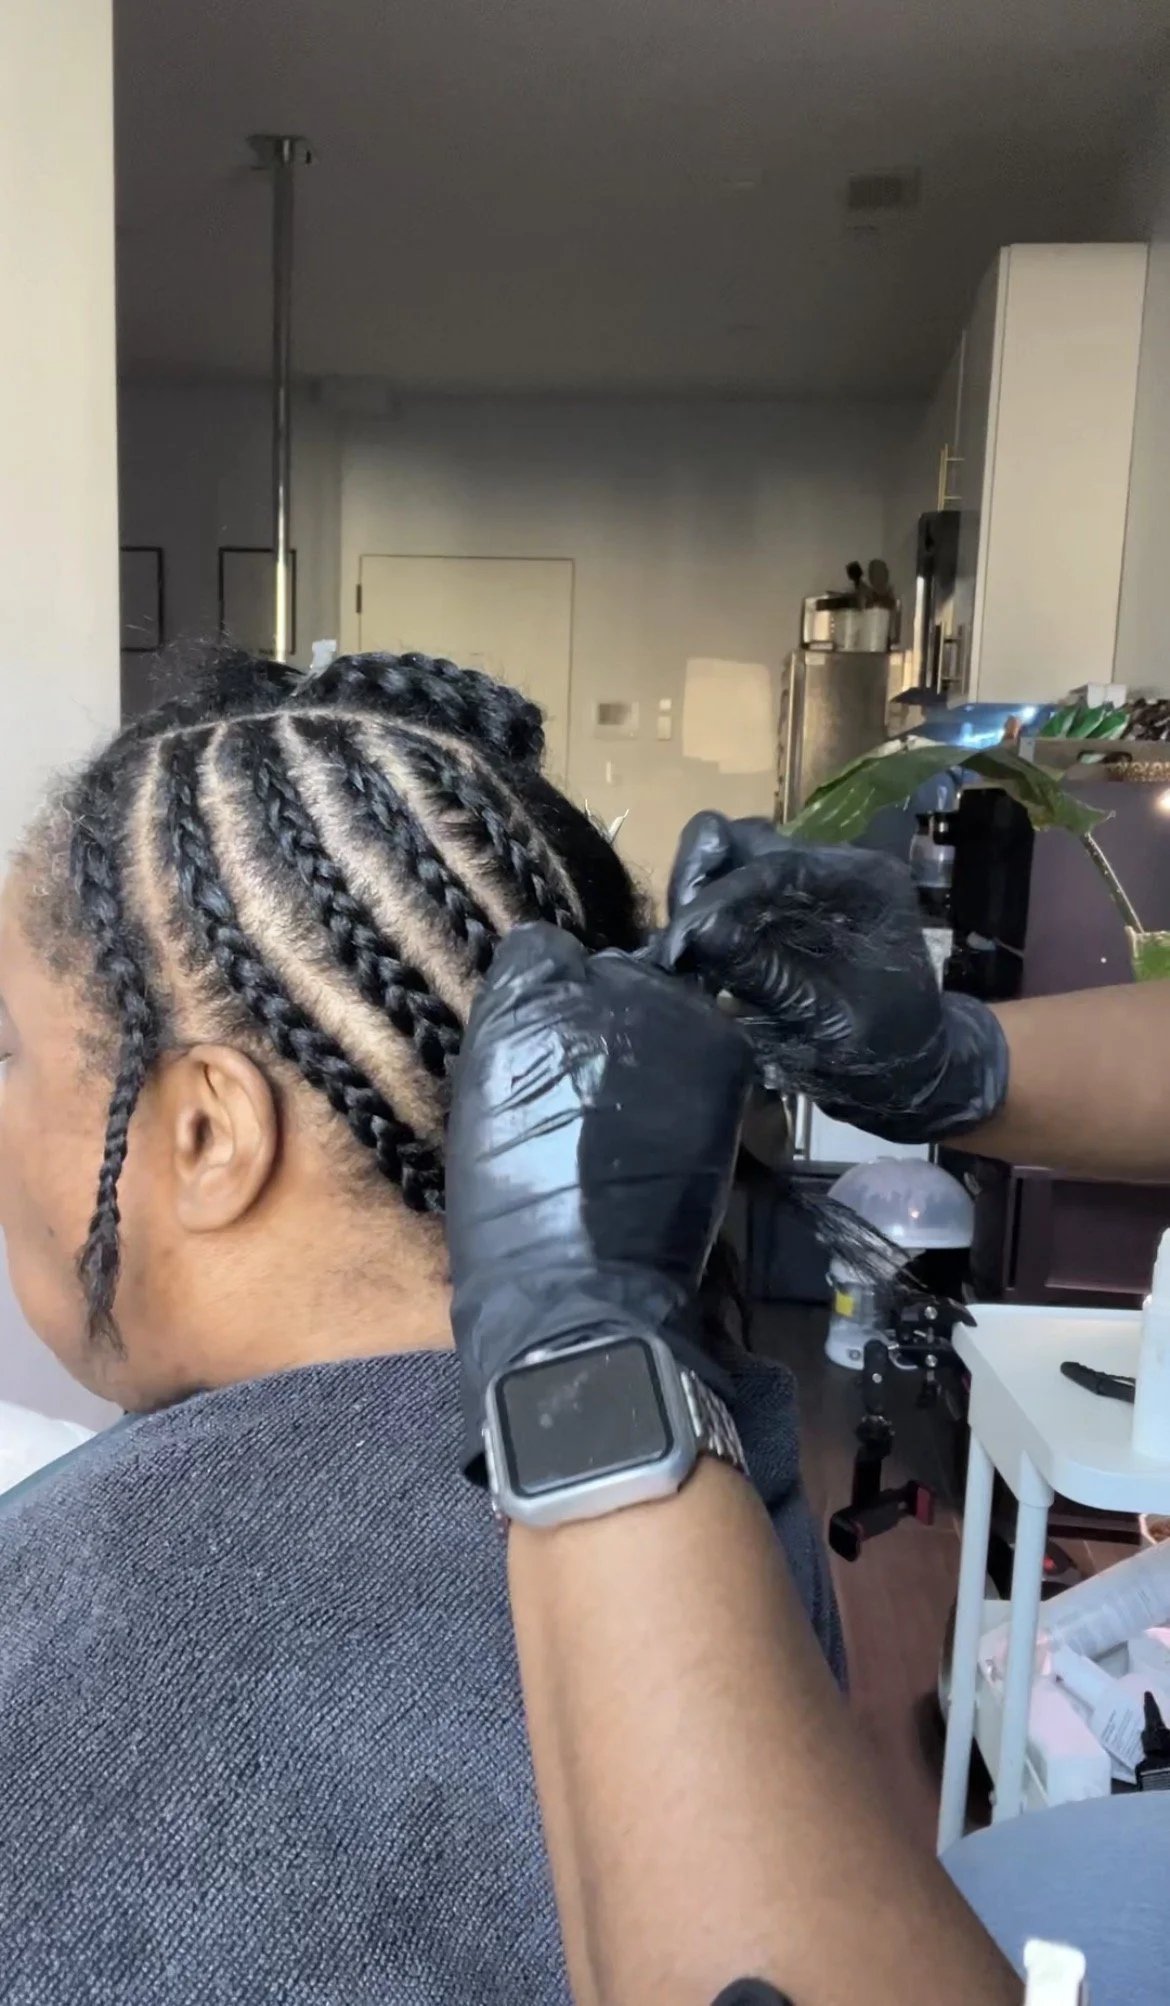
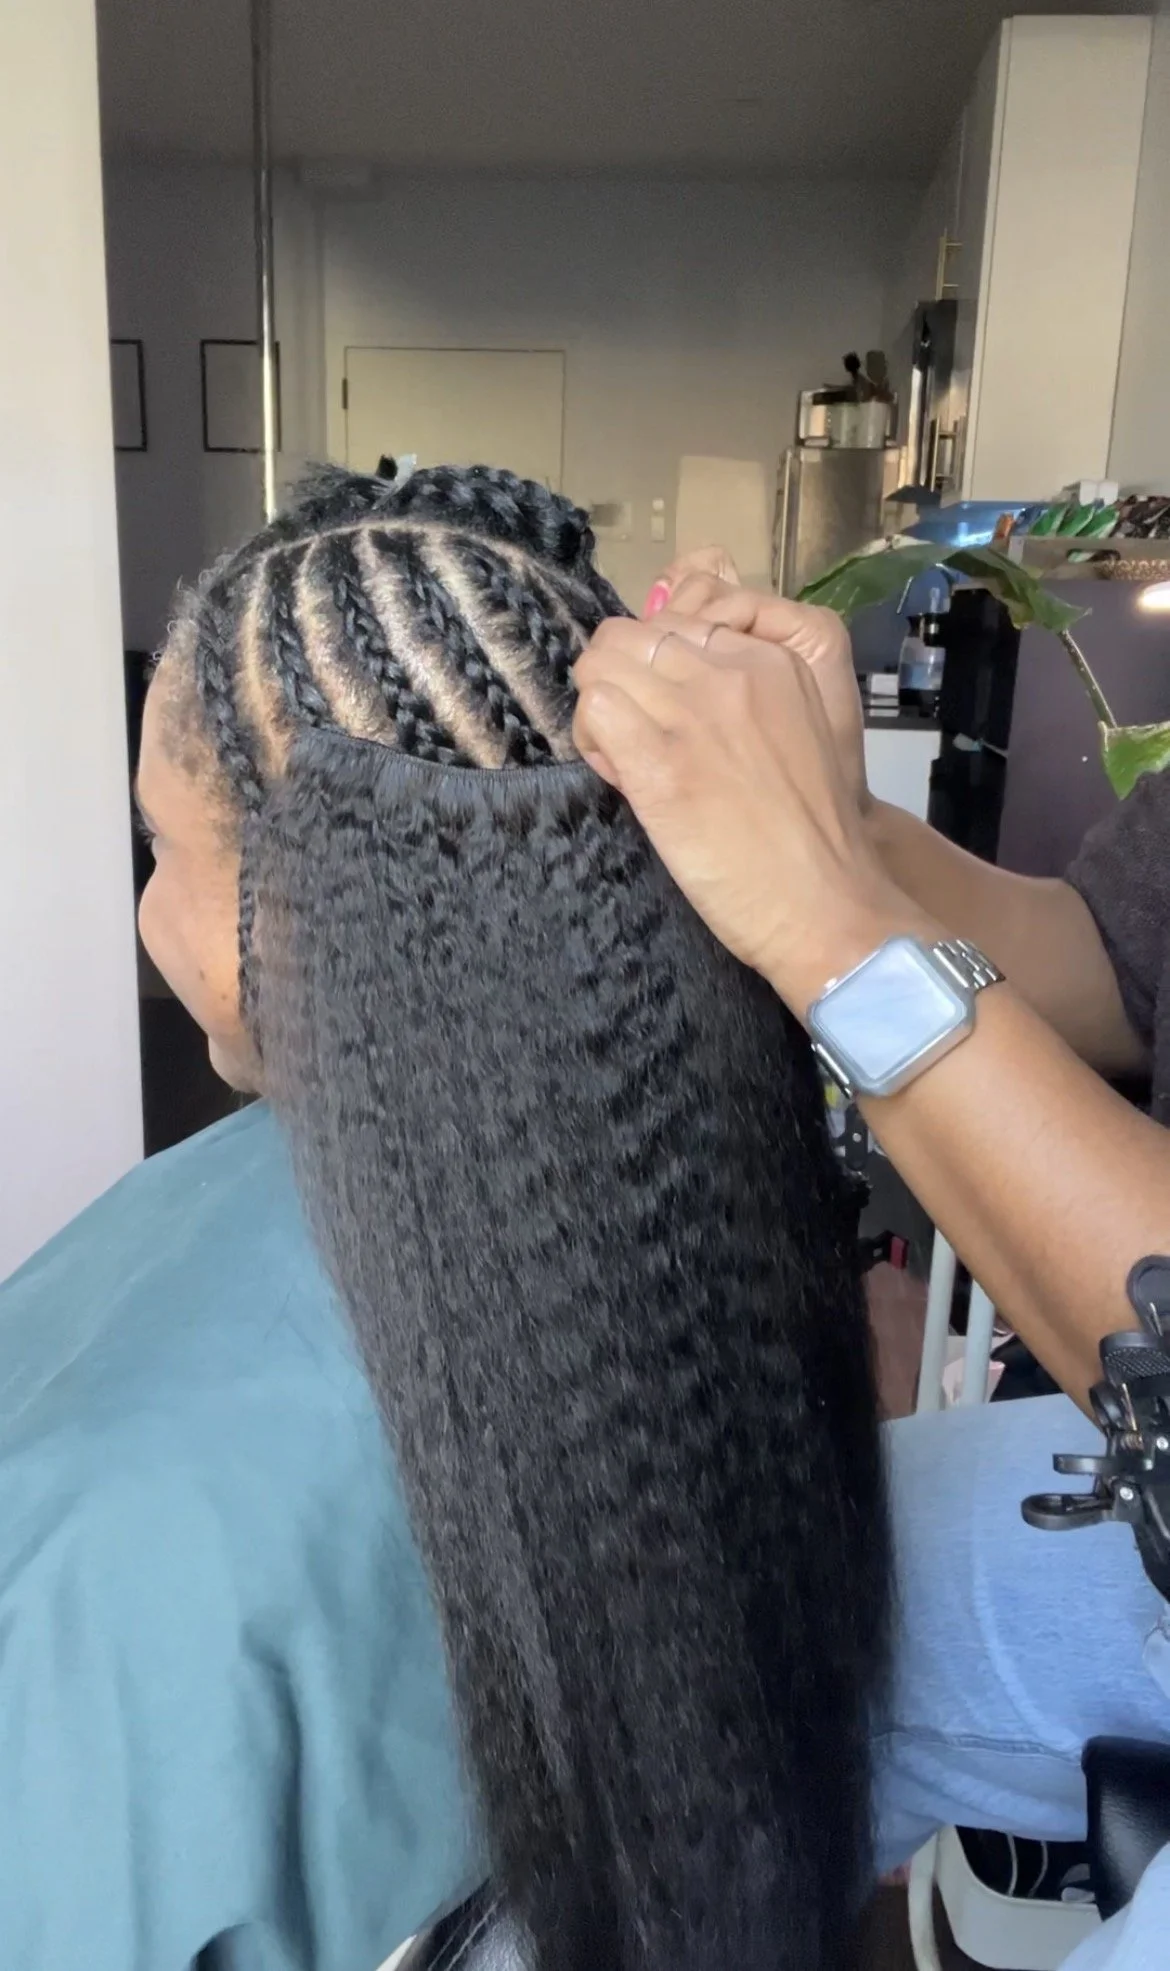
For this installation, I create a braid-down that allows my client to tuck away some of her natural hair while still having the flexibility of removable extensions.
For the braid-down, I'm using the Flex Paste.
Flex Paste gives me enough hold to keep the braids neat and smooth without leaving the hair feeling stiff, sticky or weighed down with heavy product.
That's especially important for this client because scalp health is one of the main reasons I recommended clip-ins.
I don't want layers of heavy styling products sitting on her hair and scalp and making cleansing more difficult later.
Her braid-down generally lasts about a month, with a wash in between.
I don't recommend leaving her braid-down in indefinitely. Being able to periodically unravel her hair, remove shed hair and buildup, and thoroughly cleanse her scalp is part of what makes this routine work for her.

Say goodbye to heavy braiding gels that cause buildup, dryness, and scalp irritation. Flex Paste is your go-to styler for braids, twists, and protective styles. Its lightweight, nourishing formula penetrates the hair instead of sitting on top, giving you flexible hold without blocking out essential moisture.
Benefits:
Perfect for braiding, twisting, and protective styles
Lightweight formula that won’t clog your scalp or dry out your hair
Keeps styles neat, flexible, and touchable
Nourishes while styling, promoting a healthy scalp and growth-friendly environment
What’s inside:
Pumpkin Seed Protein – Strengthens and nourishes hair, improving manageability while keeping it soft and healthy.
Bentonite Clay – Provides natural, moveable hold and scalp protection without flaking or buildup.
Unlike heavy gels, Flex Paste gives you clean, hydrated styles that last with no flaking, no crust, and no dryness.
How to Use:
Apply desired amount to damp or dry hair and style away!
Step 7: Install Kinky Straight Clip-In Extensions
Now for the fun part: the extensions!
For this installation, I'm using 20-inch kinky straight clip-in extensions in Natural Black.
For a full install, I use two packs, with seven wefts in each pack.
Together, the two sets give me enough coverage to create the fullness of a traditional extension installation while still maintaining a natural-looking finish.
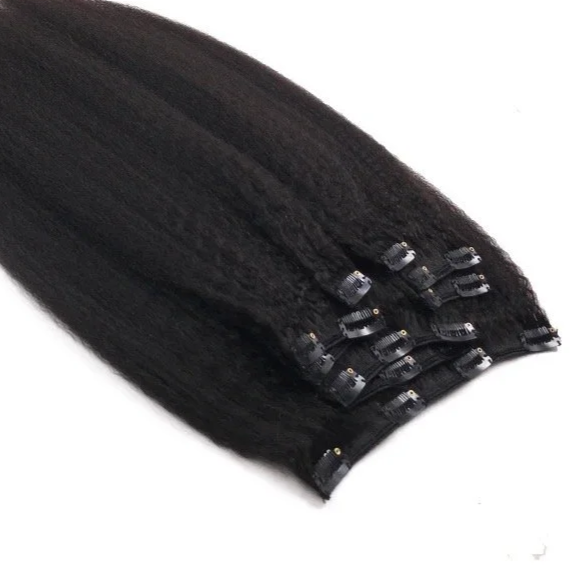
Transform your look in minutes with our 100% Virgin Human Hair Kinky Straight Clip-In Extensions. Designed to blend seamlessly with natural textures, these extensions give you instant volume, length, and style. All while keeping your hair looking natural and flawless.
Features:
100% raw, unprocessed Cambodian human hair, cuticle aligned for long lasting quality
Natural dark brown 1B color
Can be dyed, washed, and heat styled to match your unique look
No tangling, minimal shedding
Full bodied kinky straight texture that mimics natural blow dried hair
Available in multiple lengths (16”–20”) for versatile styling
Benefits:
Confidence: Instantly elevate your look and feel unstoppable wherever you go
Convenience: Easy to install and remove, perfect for busy mornings or quick style changes
Effortless Beauty: Always look polished without spending hours in the mirror
Special Occasions Ready: A must-have styling staple for weddings, vacations, and nights out
Clip-In Measurements:
Each set includes 7 pieces with the following measurements:
1 – 8-inch w/ 4 clips
1 – 7-inch w/ 3 clips
5 – 4-inch w/ 2 clips
Pro Tip: One bundle is perfect for adding fullness, while two bundles provide a complete look for full head coverage and protective styling
With our Kinky Straight Clip-Ins, you can switch up your style whenever you want. No commitment, no hassle, just beautiful hair on demand.
📦 To ensure the highest quality, all extensions are processed fresh upon order. Shipping takes approximately 7 business days.
Why Kinky Straight Clip-Ins Work So Well for Natural Hair
Texture matching makes a huge difference when you're trying to achieve natural-looking clip-in extensions.
Kinky straight hair is one of my favorite textures for clients who wear their natural hair blown out or silk pressed because it has body and texture.
Instead of trying to make natural hair look unnaturally silky to match the extensions, I want the extensions to mimic the appearance of our hair.
The result is soft, natural-looking fullness that actually looks like it could be growing from the client's head.
That's exactly what I wanted when creating these extensions: hair that looks and feels like an extension of your own.
Why Clip-In Extensions Are Great for Beginners
If you've never worn extensions before, clip-in extensions are a great place to start.
There's no sewing.
There's no glue.
And there's no long-term commitment.
You can experience having longer, fuller hair without feeling locked into one hairstyle.
They're also incredibly customizable.
During an installation, I can adjust where each weft sits depending on the client's head shape and where she wants more fullness.
If something feels uncomfortable, I can remove or reposition it.
If we need additional fullness around the crown or front, I can add another weft.
And you're not limited to wearing your clip-ins one way.
You could wear a full head of extensions one day and use a few pieces to create a fuller ponytail the next.
That's the versatility I love.
Quality Clip-In Extensions Can Be an Investment
One of my favorite things about this client's transformation is that these aren't brand-new extensions.
At the time of filming, she had owned this set for around nine months.
This was already my second time reinstalling them, and since filming the video, she's returned for a third reinstall.
She also styles and maintains the extensions herself at home.
That's why I look at quality human hair clip-in extensions as an investment rather than something you necessarily need to replace after a few wears.
With quality hair and proper maintenance, you can wash, style and reinstall your extensions multiple times.
The goal is to buy hair that works with your natural texture and lifestyle and then actually take care of it.
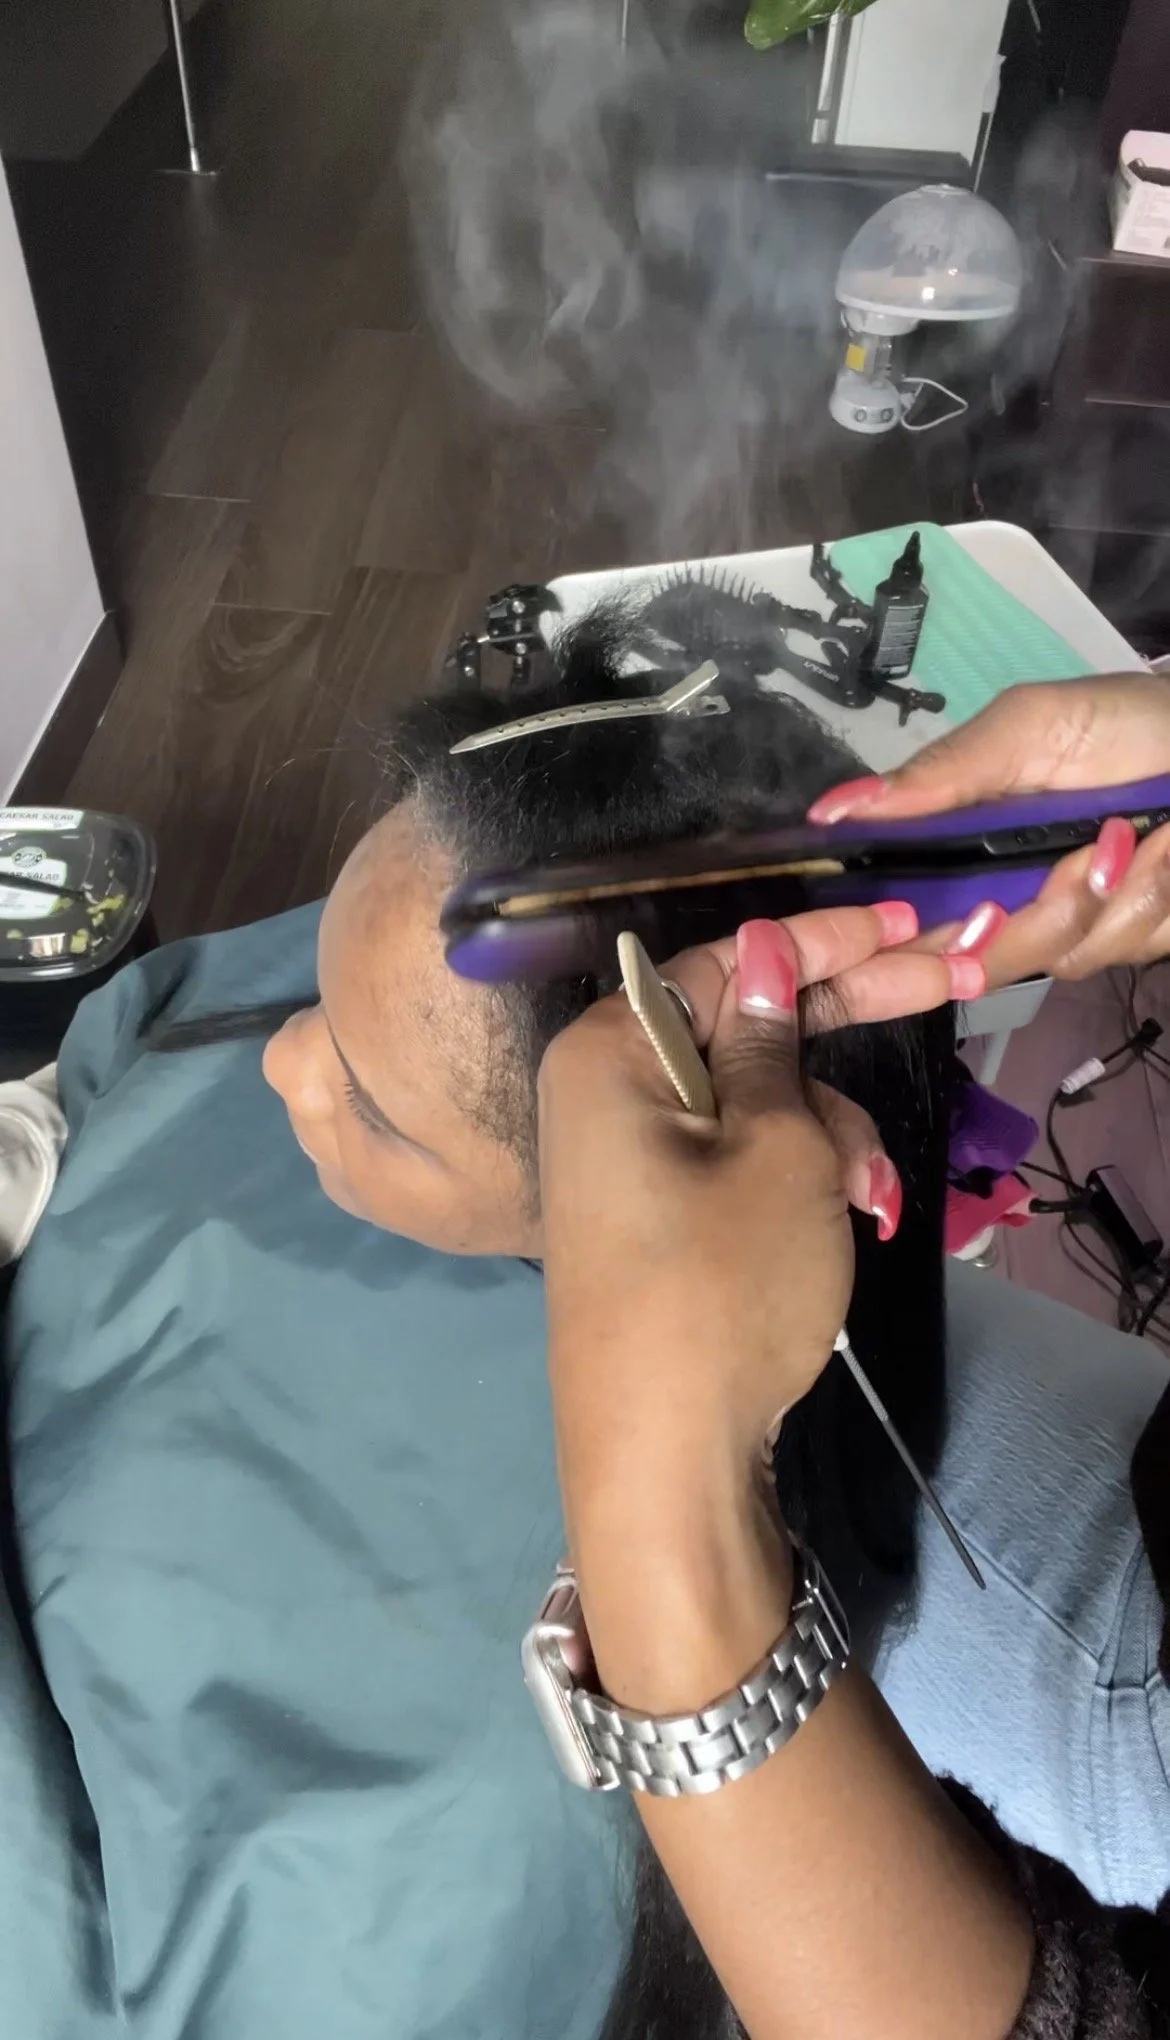
How to Maintain Clip-In Extensions and Natural Hair at Home
Once your extensions are installed, maintenance matters just as much as the initial appointment.
One of my biggest tips is to avoid repeatedly applying heat to your natural hair throughout the week.
I prefer doing the majority of heat styling on wash day and then using heatless styling methods to maintain the look afterward whenever possible.
This helps minimize unnecessary heat exposure to the natural hair you're using as leave-out.
Your extensions need maintenance too.
I like using a small amount of Amethyst Oil on both the extensions and natural hair to maintain softness, shine and a polished finish without making the hair feel greasy or heavy.
And, most importantly, don't neglect your scalp just because you're wearing extensions.
That's one of the biggest reasons I love a removable method.

Seal in shine, lock in moisture, and protect your hair with Amethyst Oil. This lightweight finishing oil is designed to penetrate the hair shaft, delivering long-lasting hydration without weighing your hair down. Perfect for both blowouts and silk presses, it doubles as an extra layer of heat protection while keeping your hair soft, smooth, and frizz-free.
Features:
Provides a second layer of heat protection for styling
Lightweight formula that absorbs quickly without buildup
Seals in moisture from your creams and leave-ins
Leaves hair silky, shiny, and frizz-free
Works on natural hair, relaxed hair, and extensions
Benefits:
Protects against dryness from hot tools
Adds natural shine without greasiness
Perfect as the final step before a silk press or as a daily shine oil
Fine-hair friendly — no heavy residue or weighed-down strands
Whether you’re blowing out, silk pressing, or simply refreshing your look, Amethyst Oil is the perfect finishing touch for healthy, shiny, and protected hair.
What’s inside:
• HEMP SEED PROTEIN: fights fly-aways and frizz. Soothes scalp.
• AMETHYST: protects the hair from hot tools up to 410 degrees and
speeds up blow dry time.
How to Use:
ON WET HAIR: apply a few drops concentrating on the mid-lengths and ends. Comb through to distribute evenly. Style as usual.
ON DRY HAIR: lightly apply and work through hair for added shine and to tame fly-aways.
TREATMENT: apply throughout scalp and hair, cover with a plastic cap for 20 minutes to an hour. Shampoo and condition hair as regular.
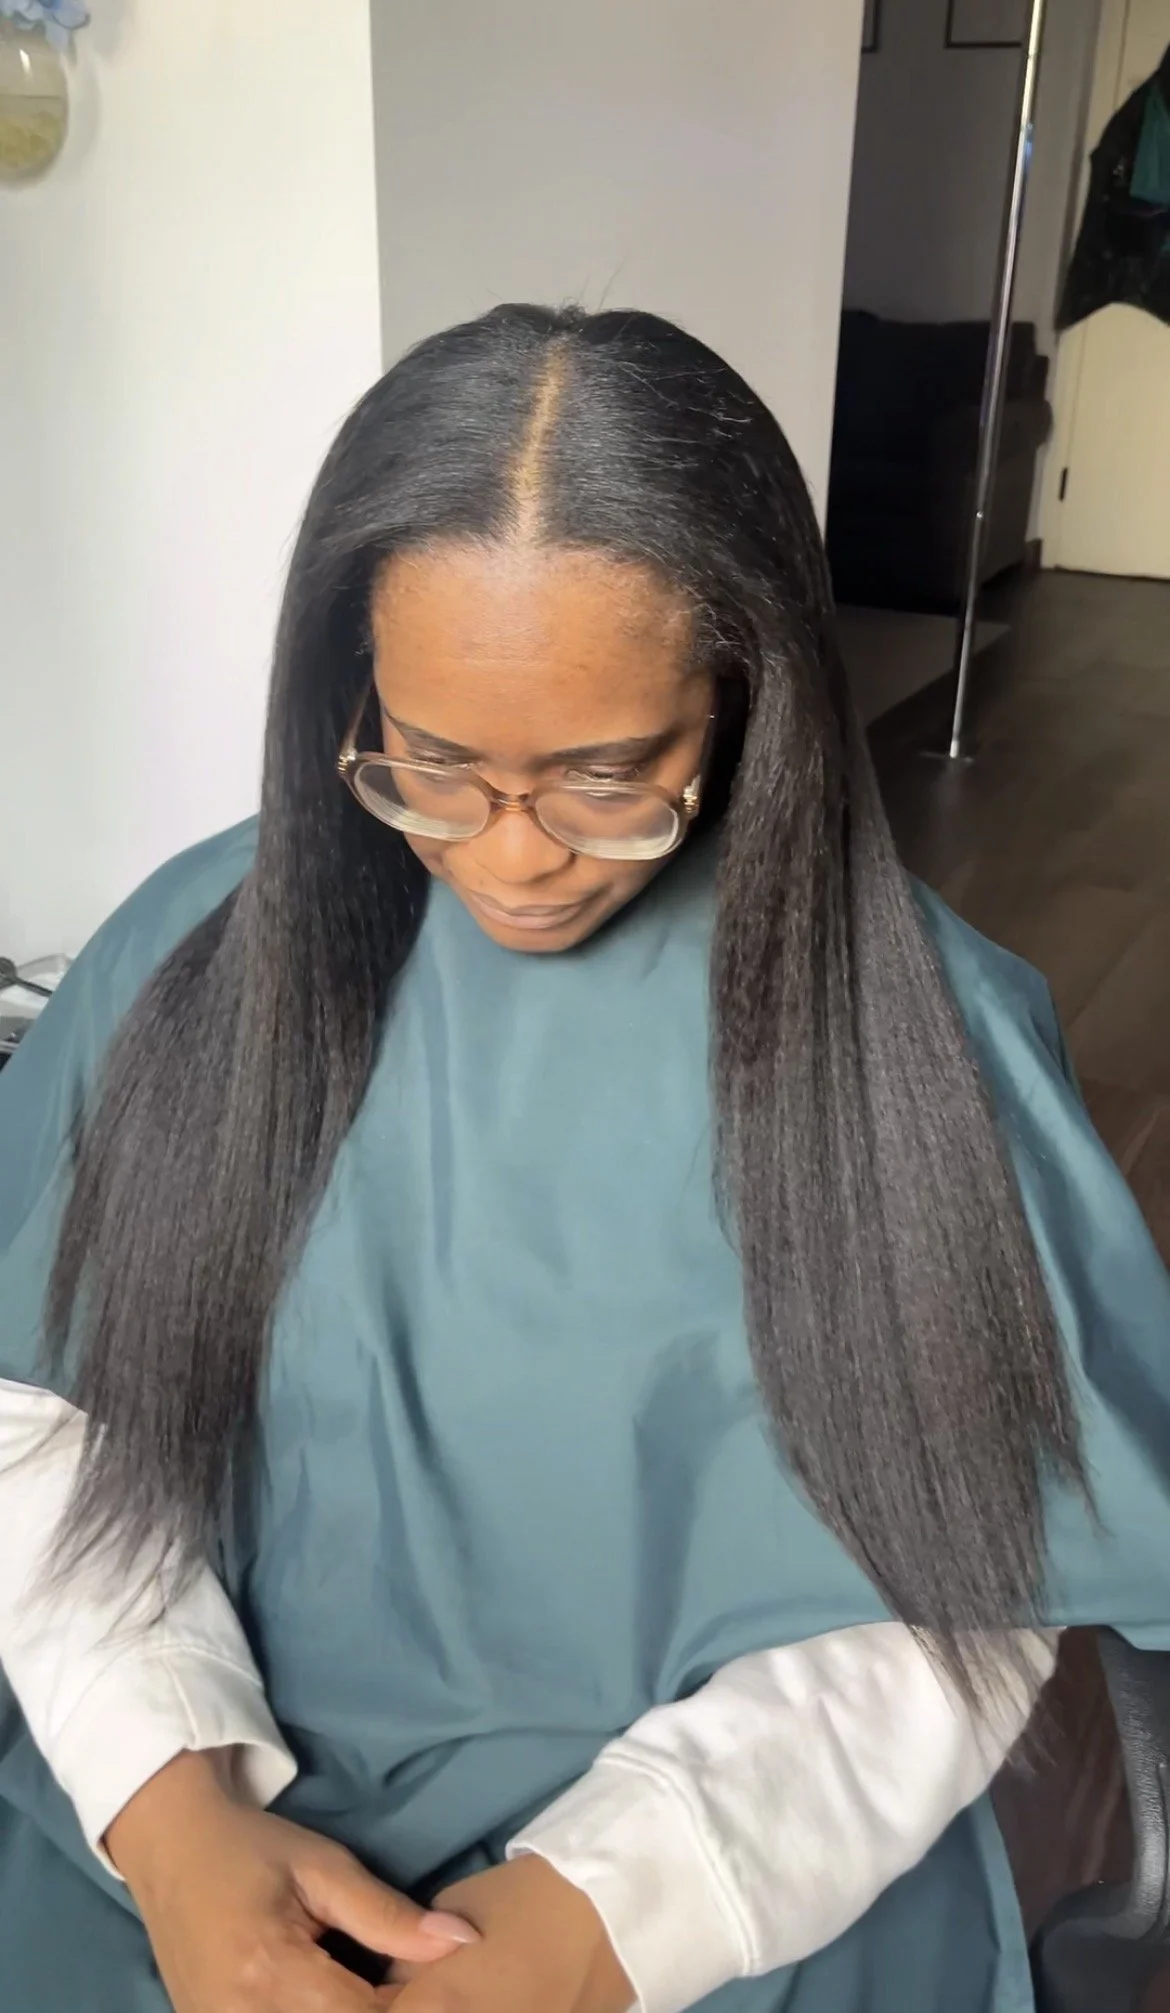
The Final Result: Seamless Clip-Ins That Look Like Natural Hair
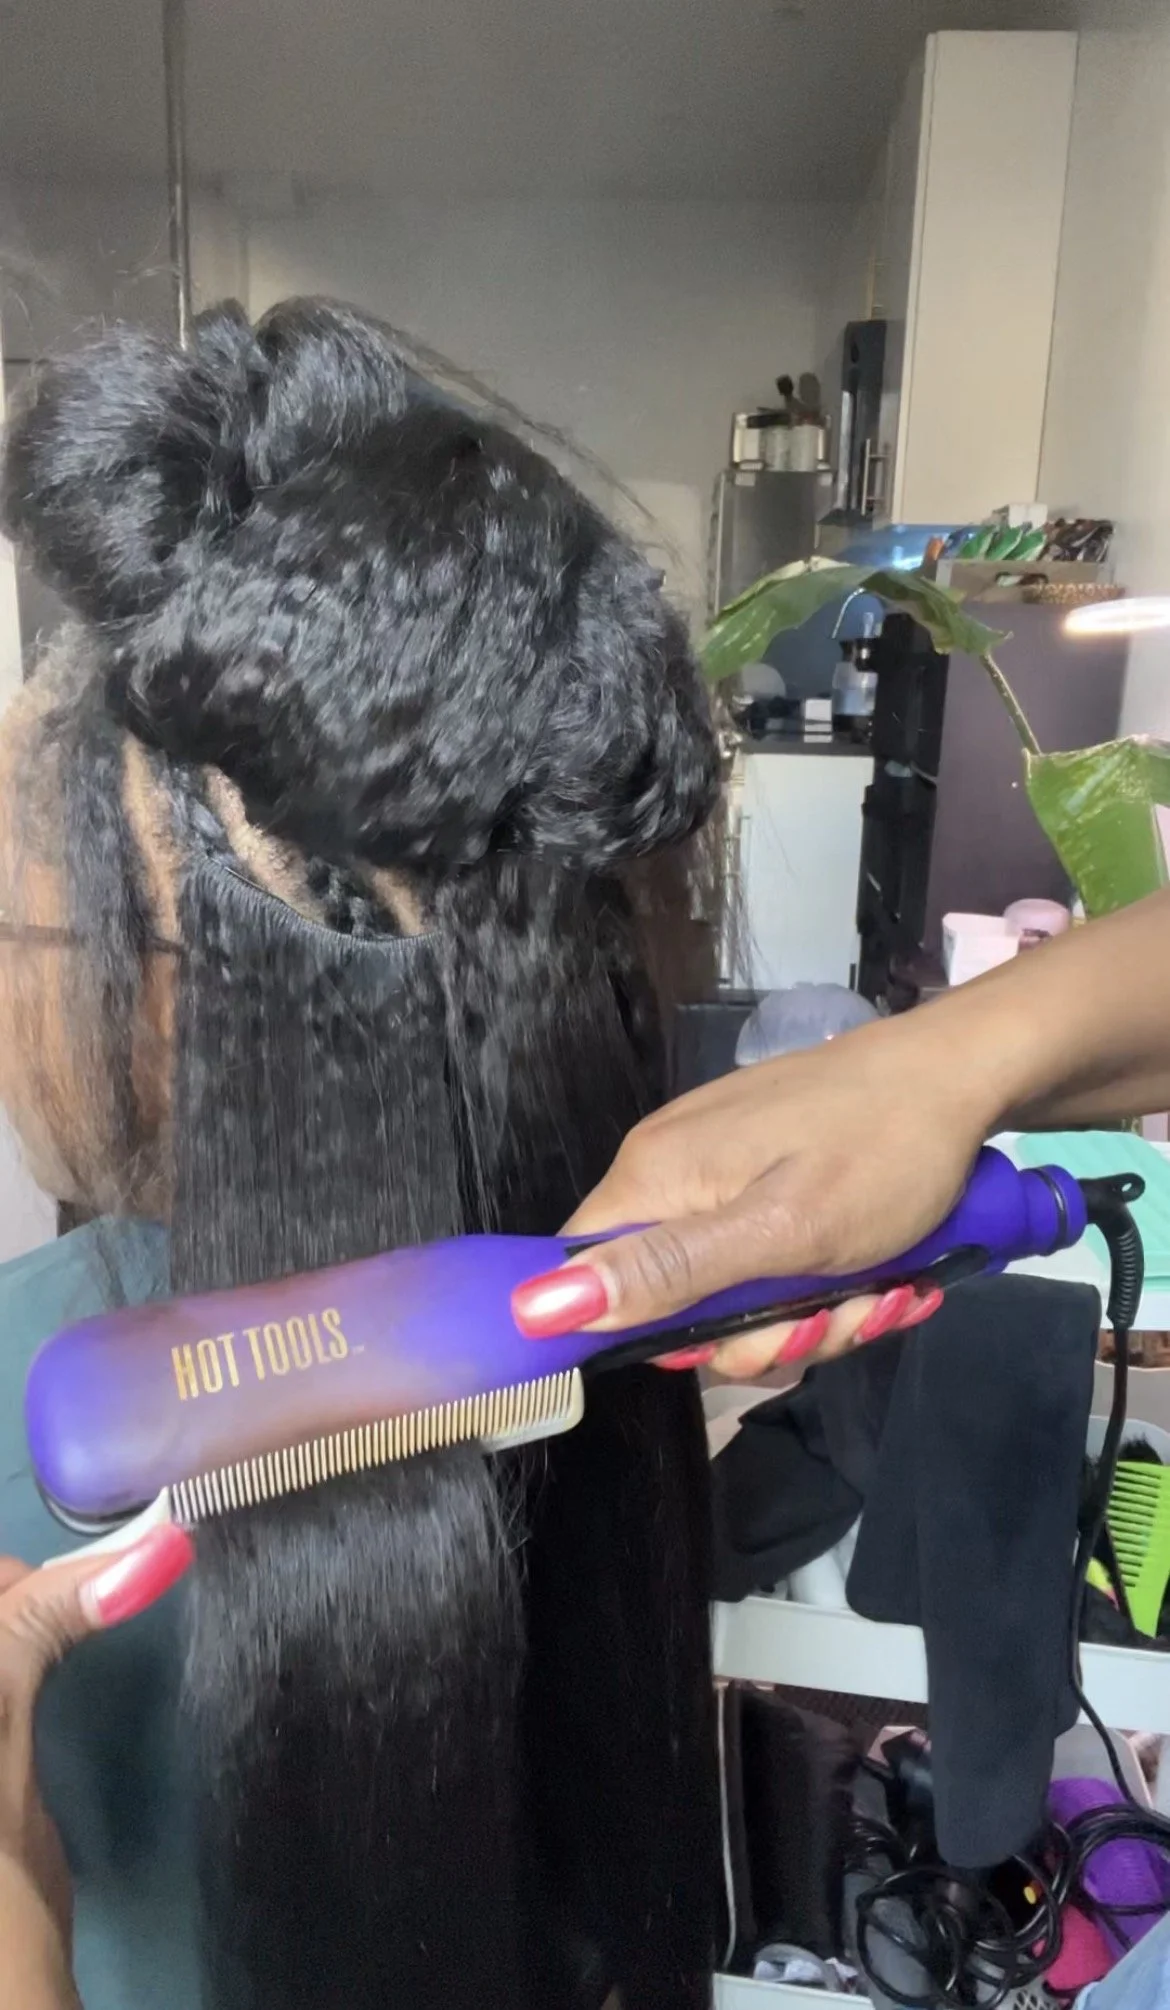
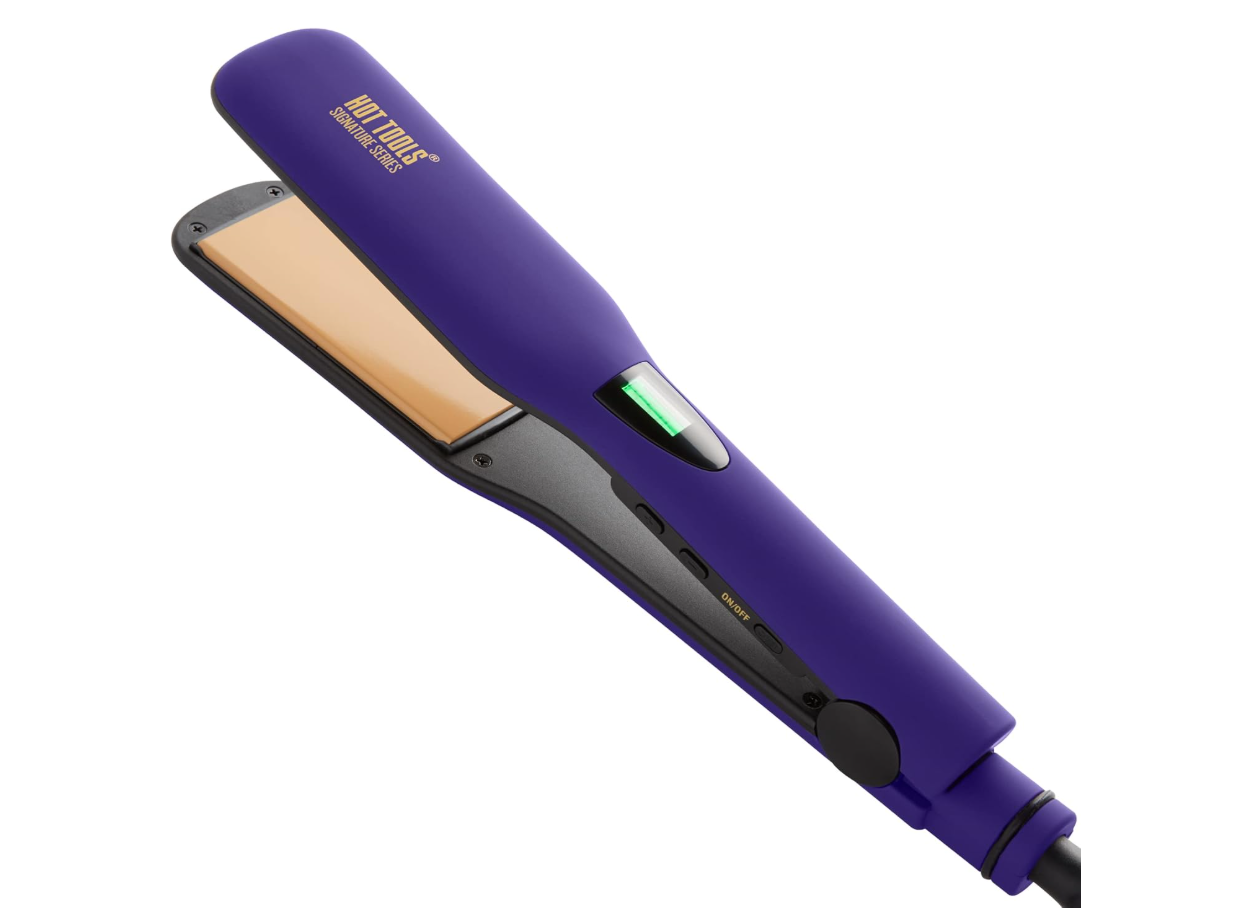
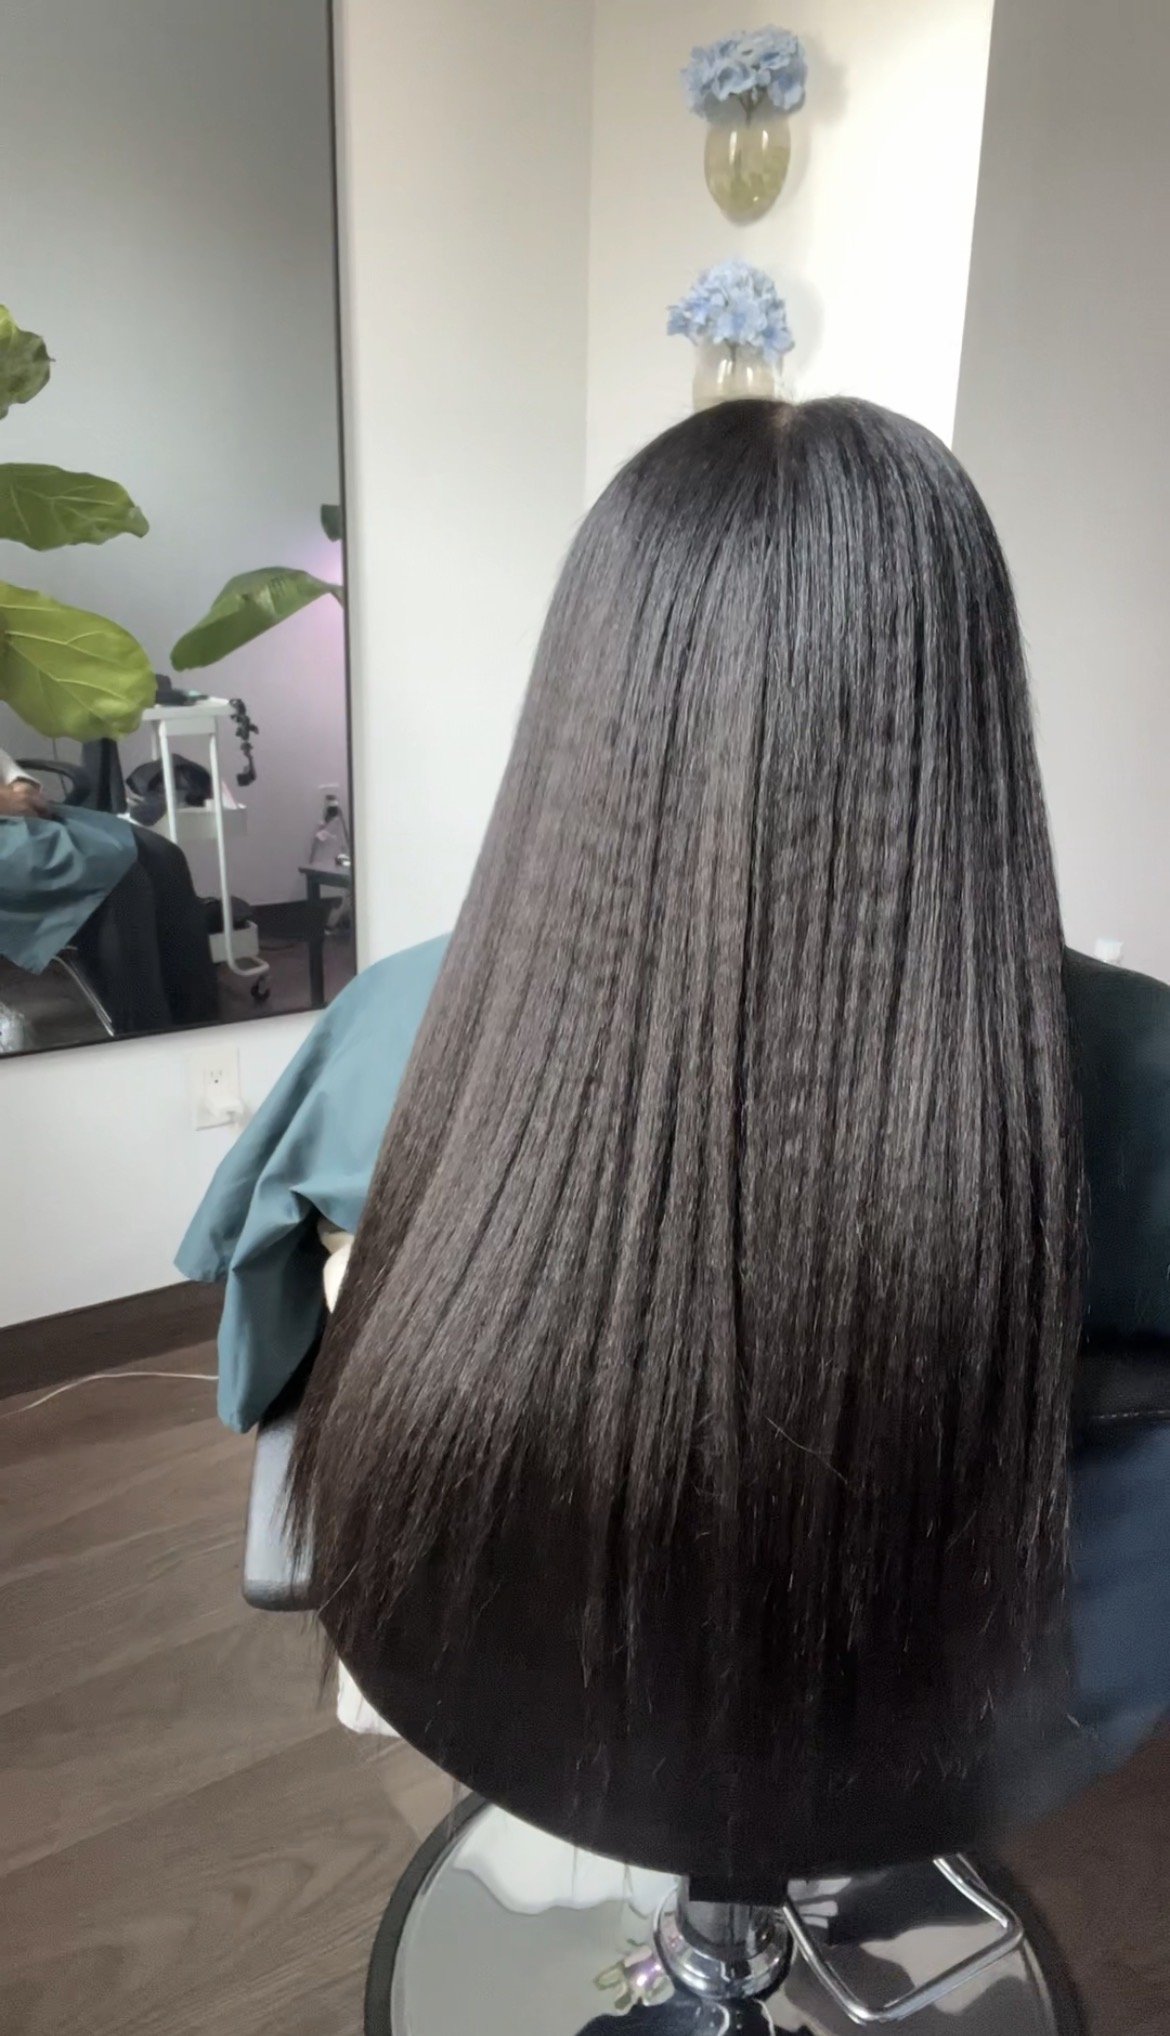
Once the extensions are installed, flat-ironed and blended with her leave-out, everything comes together.
The final result has the length and fullness she wants, but you can't easily tell where her natural hair stops and the extensions begin.
And that's the goal.
Her extensions look beautiful, but her natural hair is still the priority underneath them.
Over the years, this has completely changed how I think about recommending hair extensions.
I don't want to put every client into the same style simply because it's popular.
I want to find an extension method that fits your actual life.
For this client, kinky straight clip-in extensions give her the flexibility to care for her flaky scalp, keep up with her natural hair, accommodate her busy schedule and still have long, full, polished hair whenever she wants it.
Can Clip-In Extensions Be Part of a Healthy Natural Hair Routine?
They absolutely can—but the extensions are only one piece of the routine.
You still have to prioritize:
Regular cleansing and scalp care
Moisture and conditioning
Strengthening treatments when appropriate
Heat protection
Regular trims
Low-manipulation styling
Quality extensions that blend with your natural hair
Proper maintenance of both your natural hair and the extensions
The goal shouldn't be to hide your natural hair and forget about it.
I want my clients to be able to enjoy extensions while still maintaining healthy natural hair underneath.
Because when you have healthy hair underneath and beautiful extensions on top, you don't have to choose between healthy hair and the look you want.
You can have both.